Plastic Spoon Wreath Mirror!!
I’m the person who walks into a store and enjoys the hunt for an item rather than ask an employee where I can find it. Reason why I tell you this, is because when it comes to projects I’m the same way. I’d rather be stuck on the same step over and over again before I actually look up directions. Lucky for you guys, now I’m able to show both the DO’s and the DONT’s to make your plastic spoon wreath a masterpiece of your own!
What you’ll need:
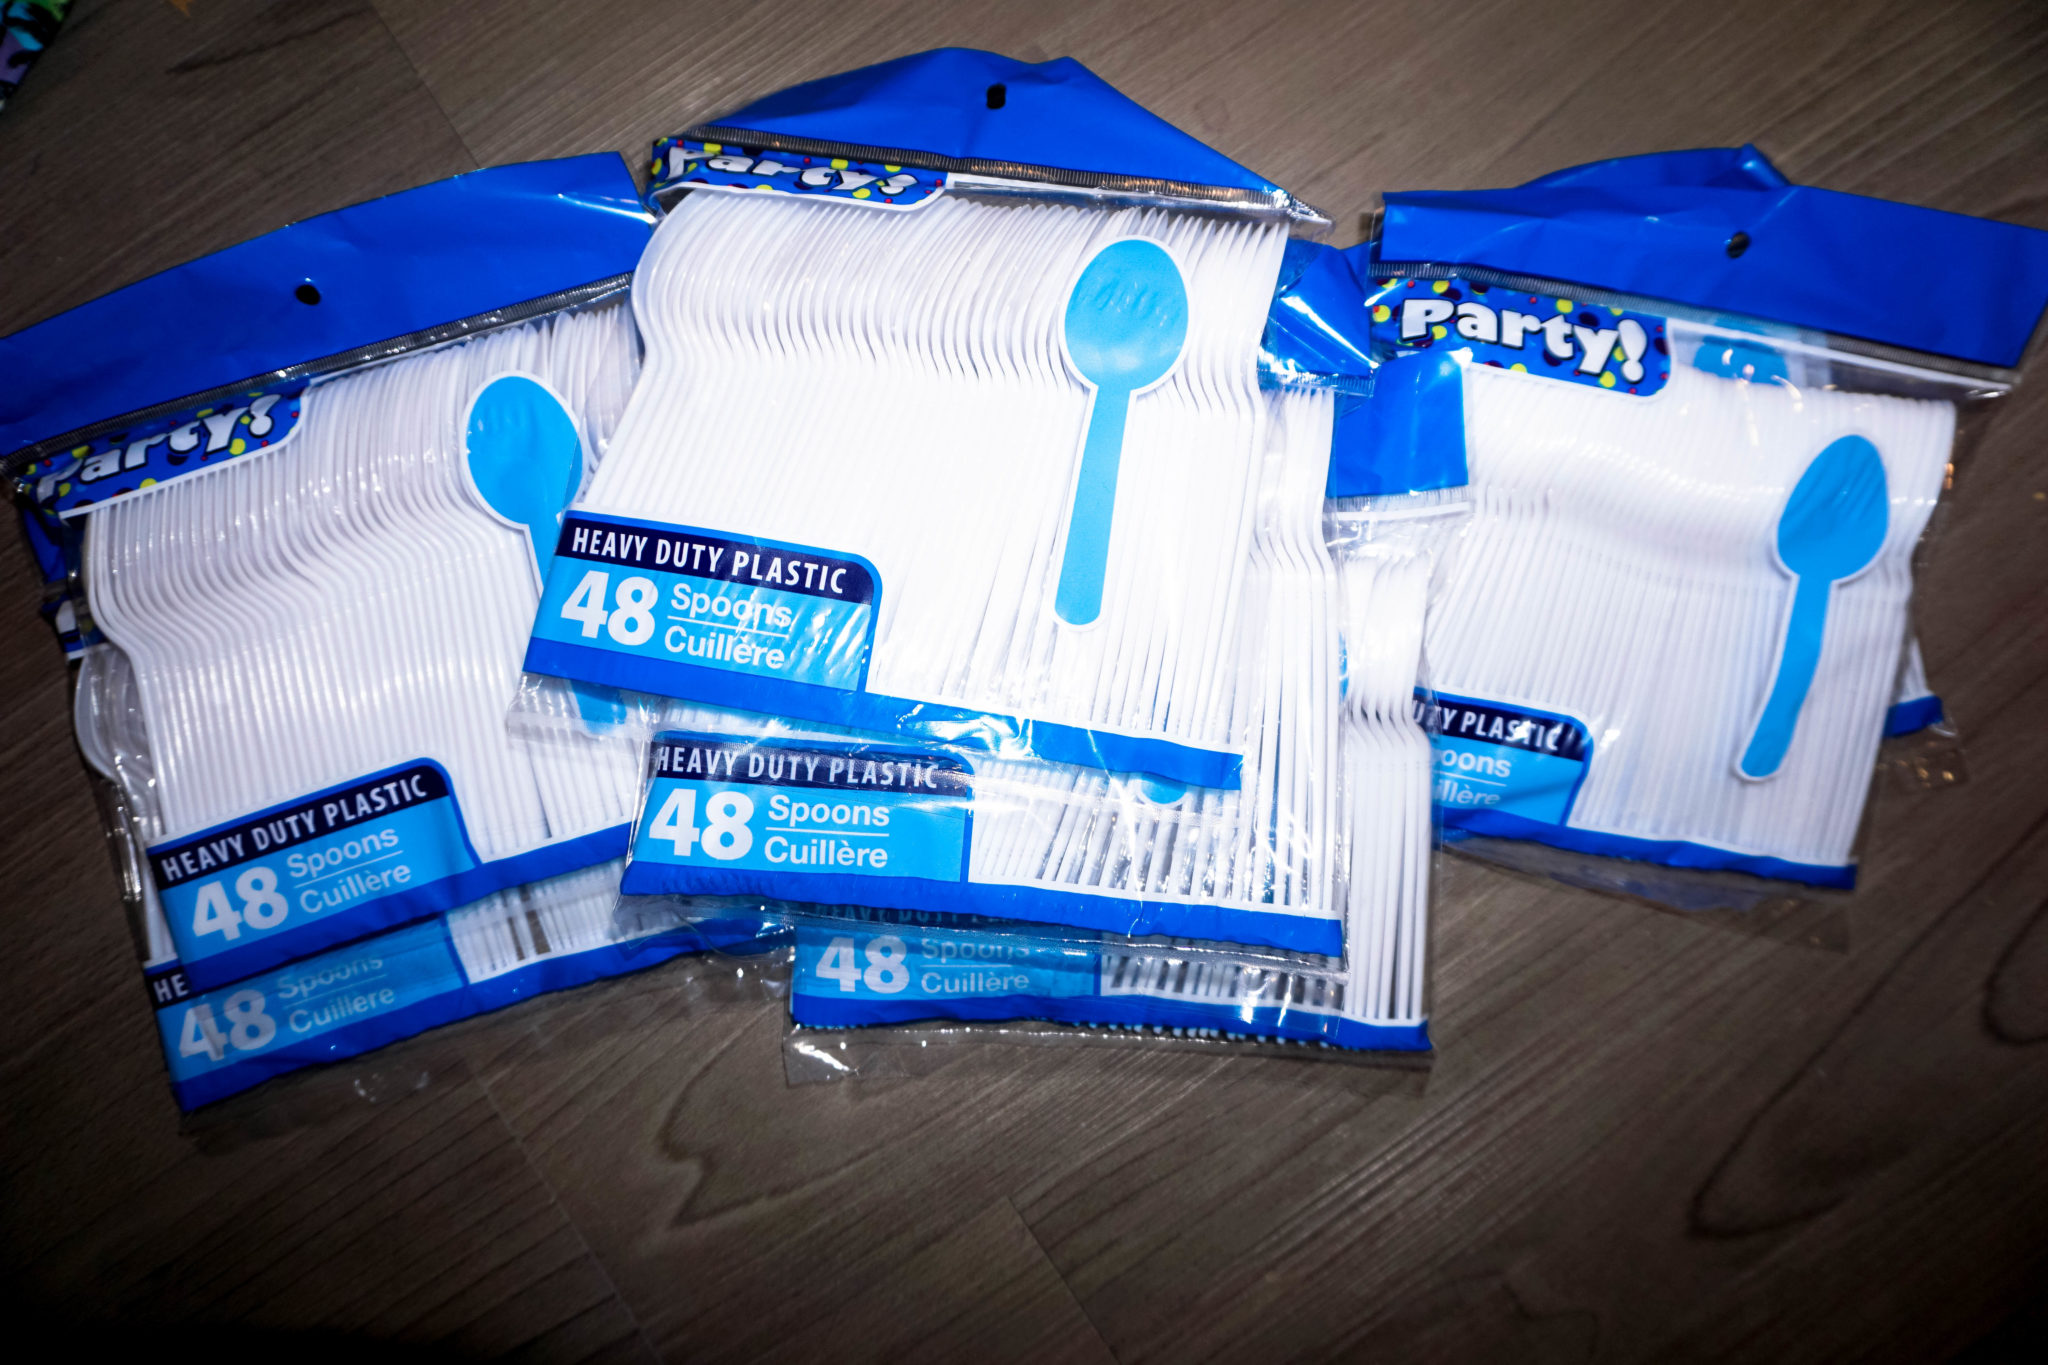
Plastic Spoons
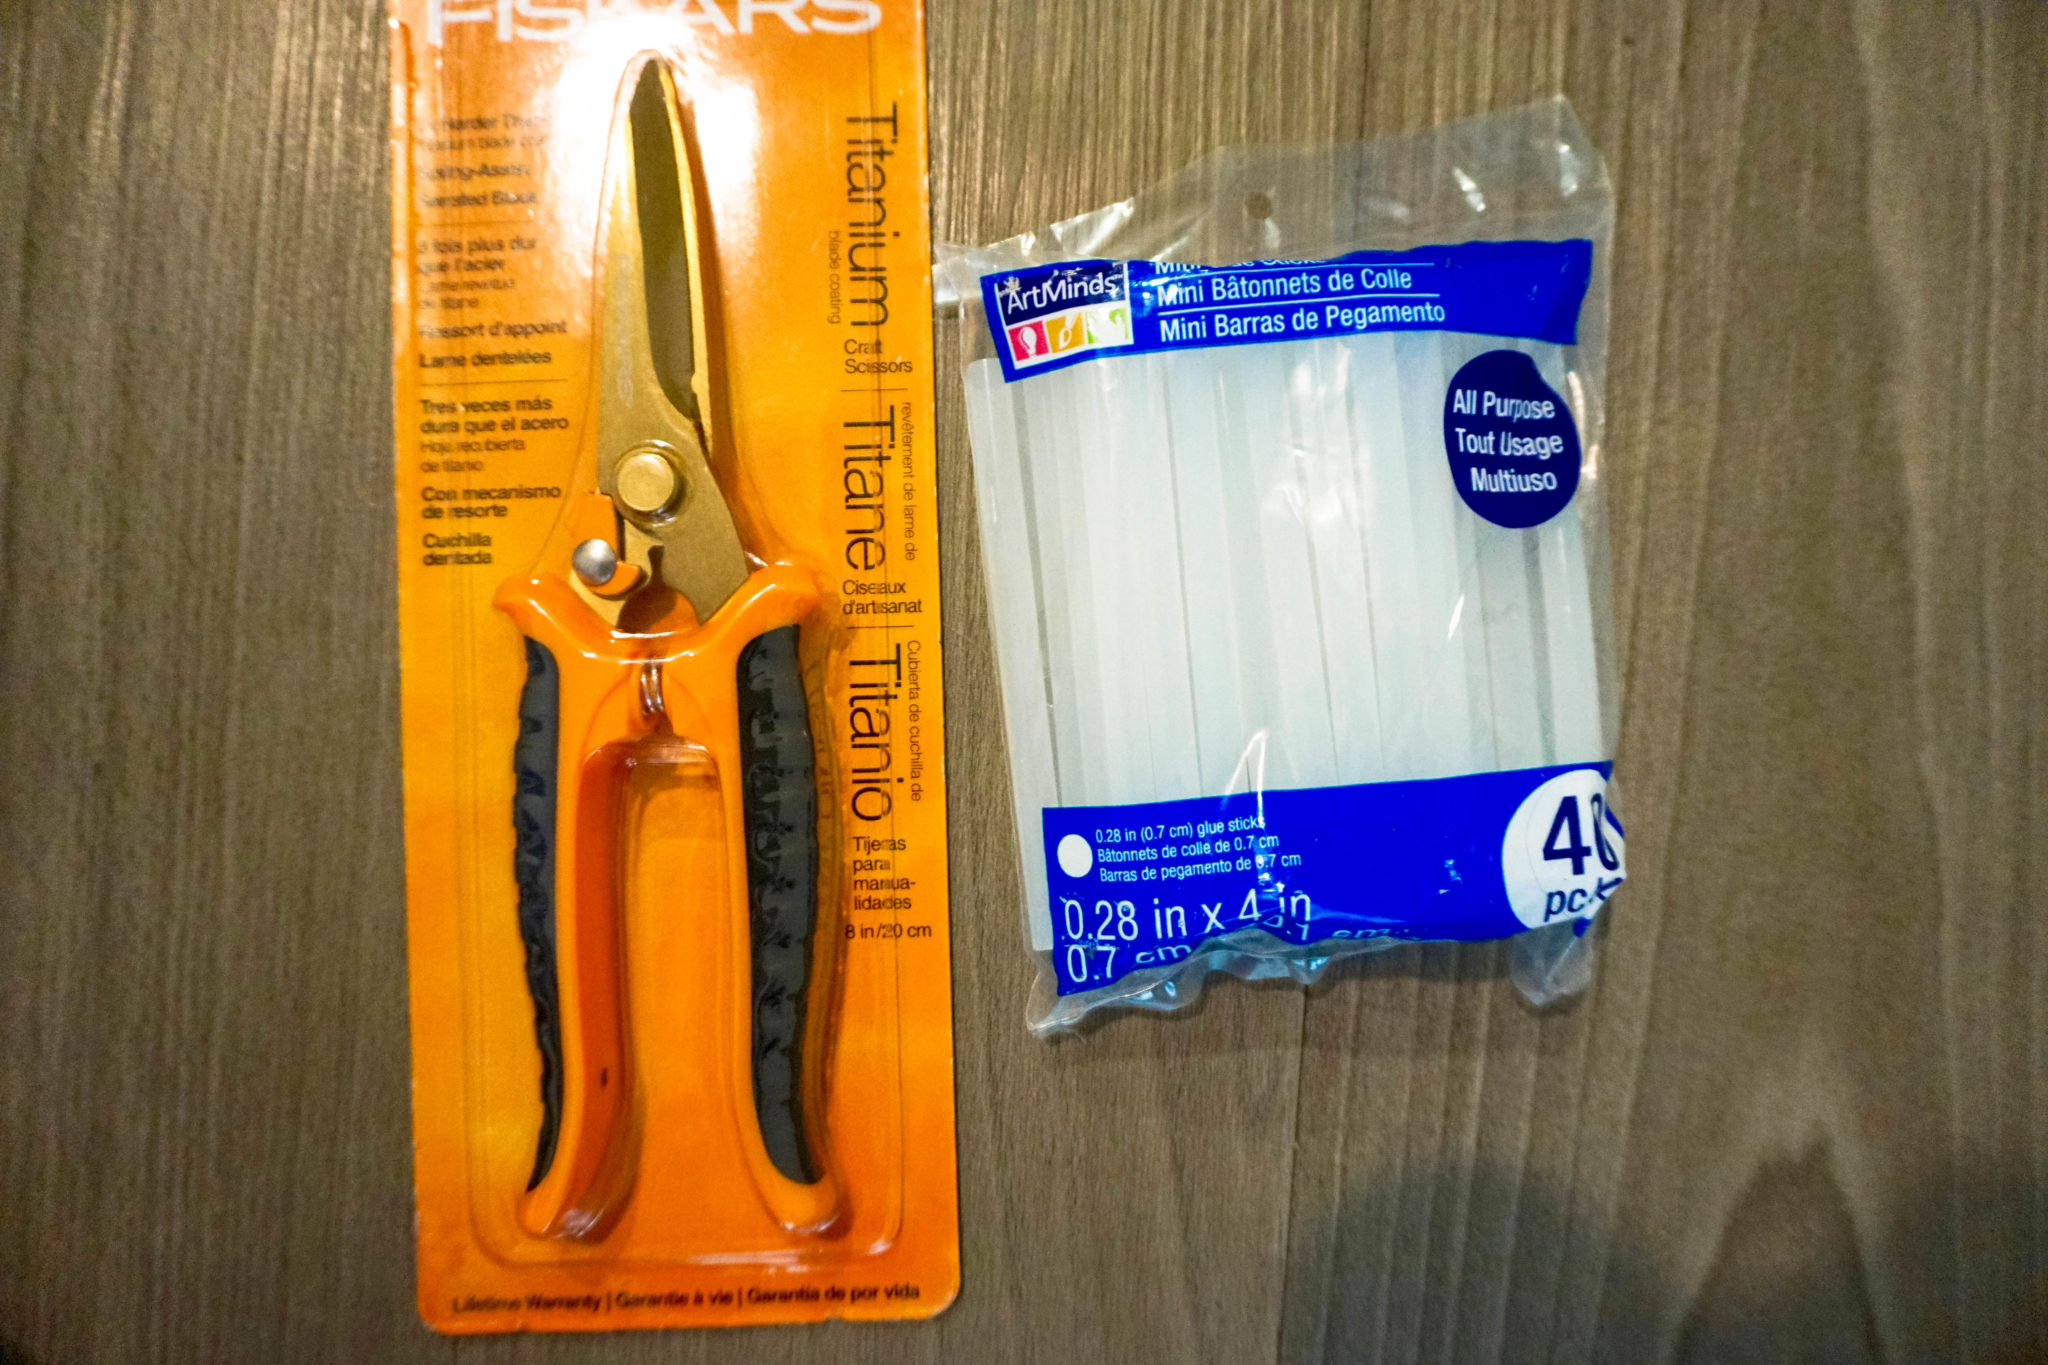
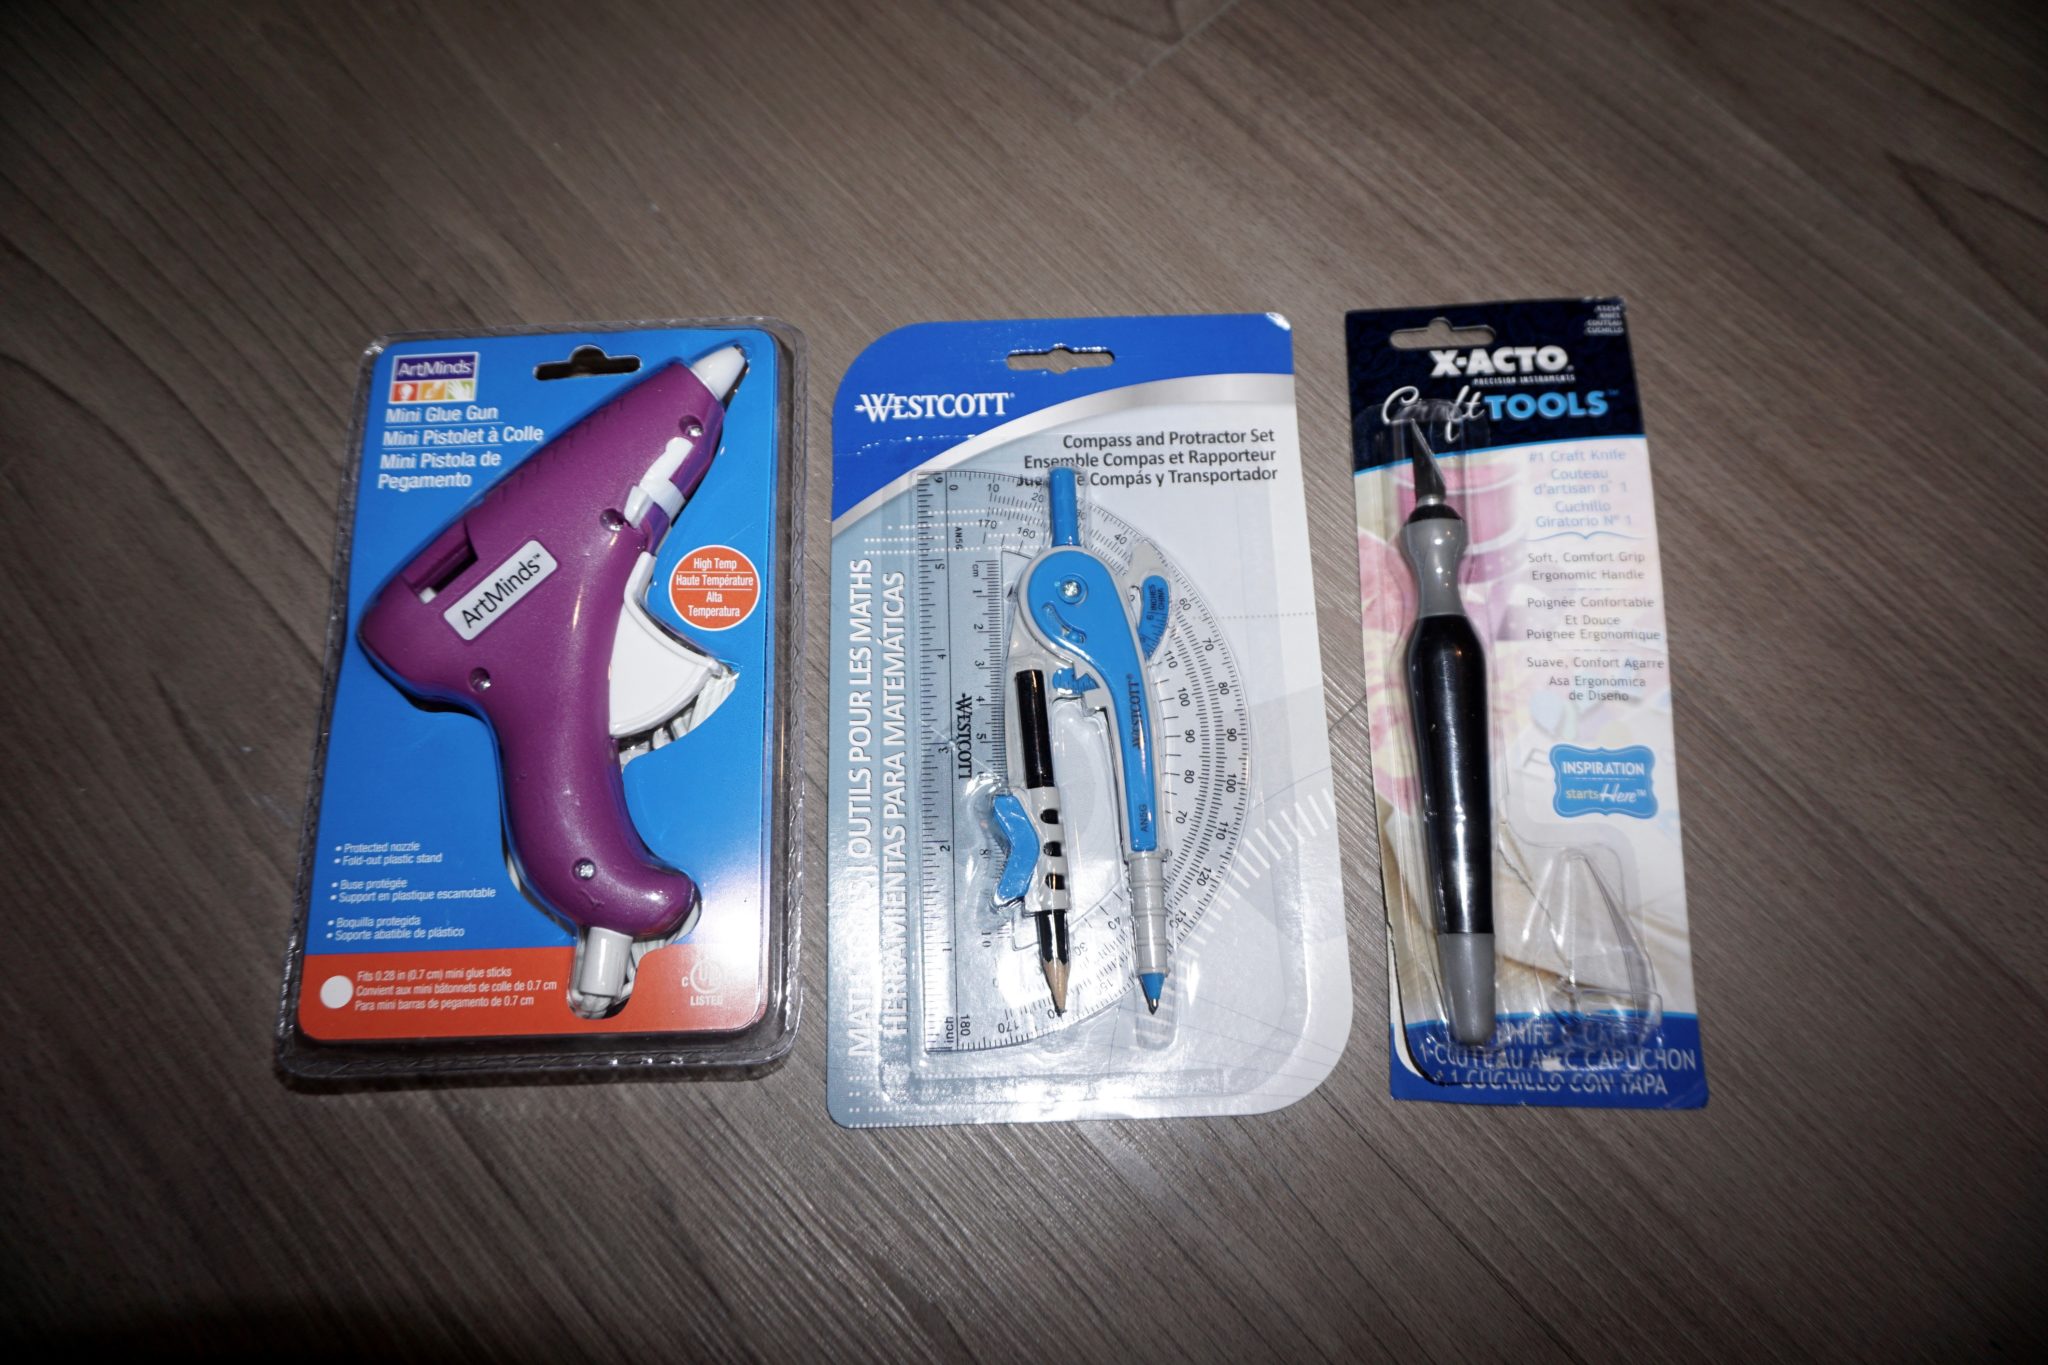
Hot Glue Gun
Hot Glue Sticks
1 large Cardboard box
1 medium Cardboard box
Sand Paper
Duct Tape
3 mirrors; 2) 10′ mirrors 1) 12′ mirror
Compass (optional)
X-Acto knife
Craft Scissors
Pencil/Pen
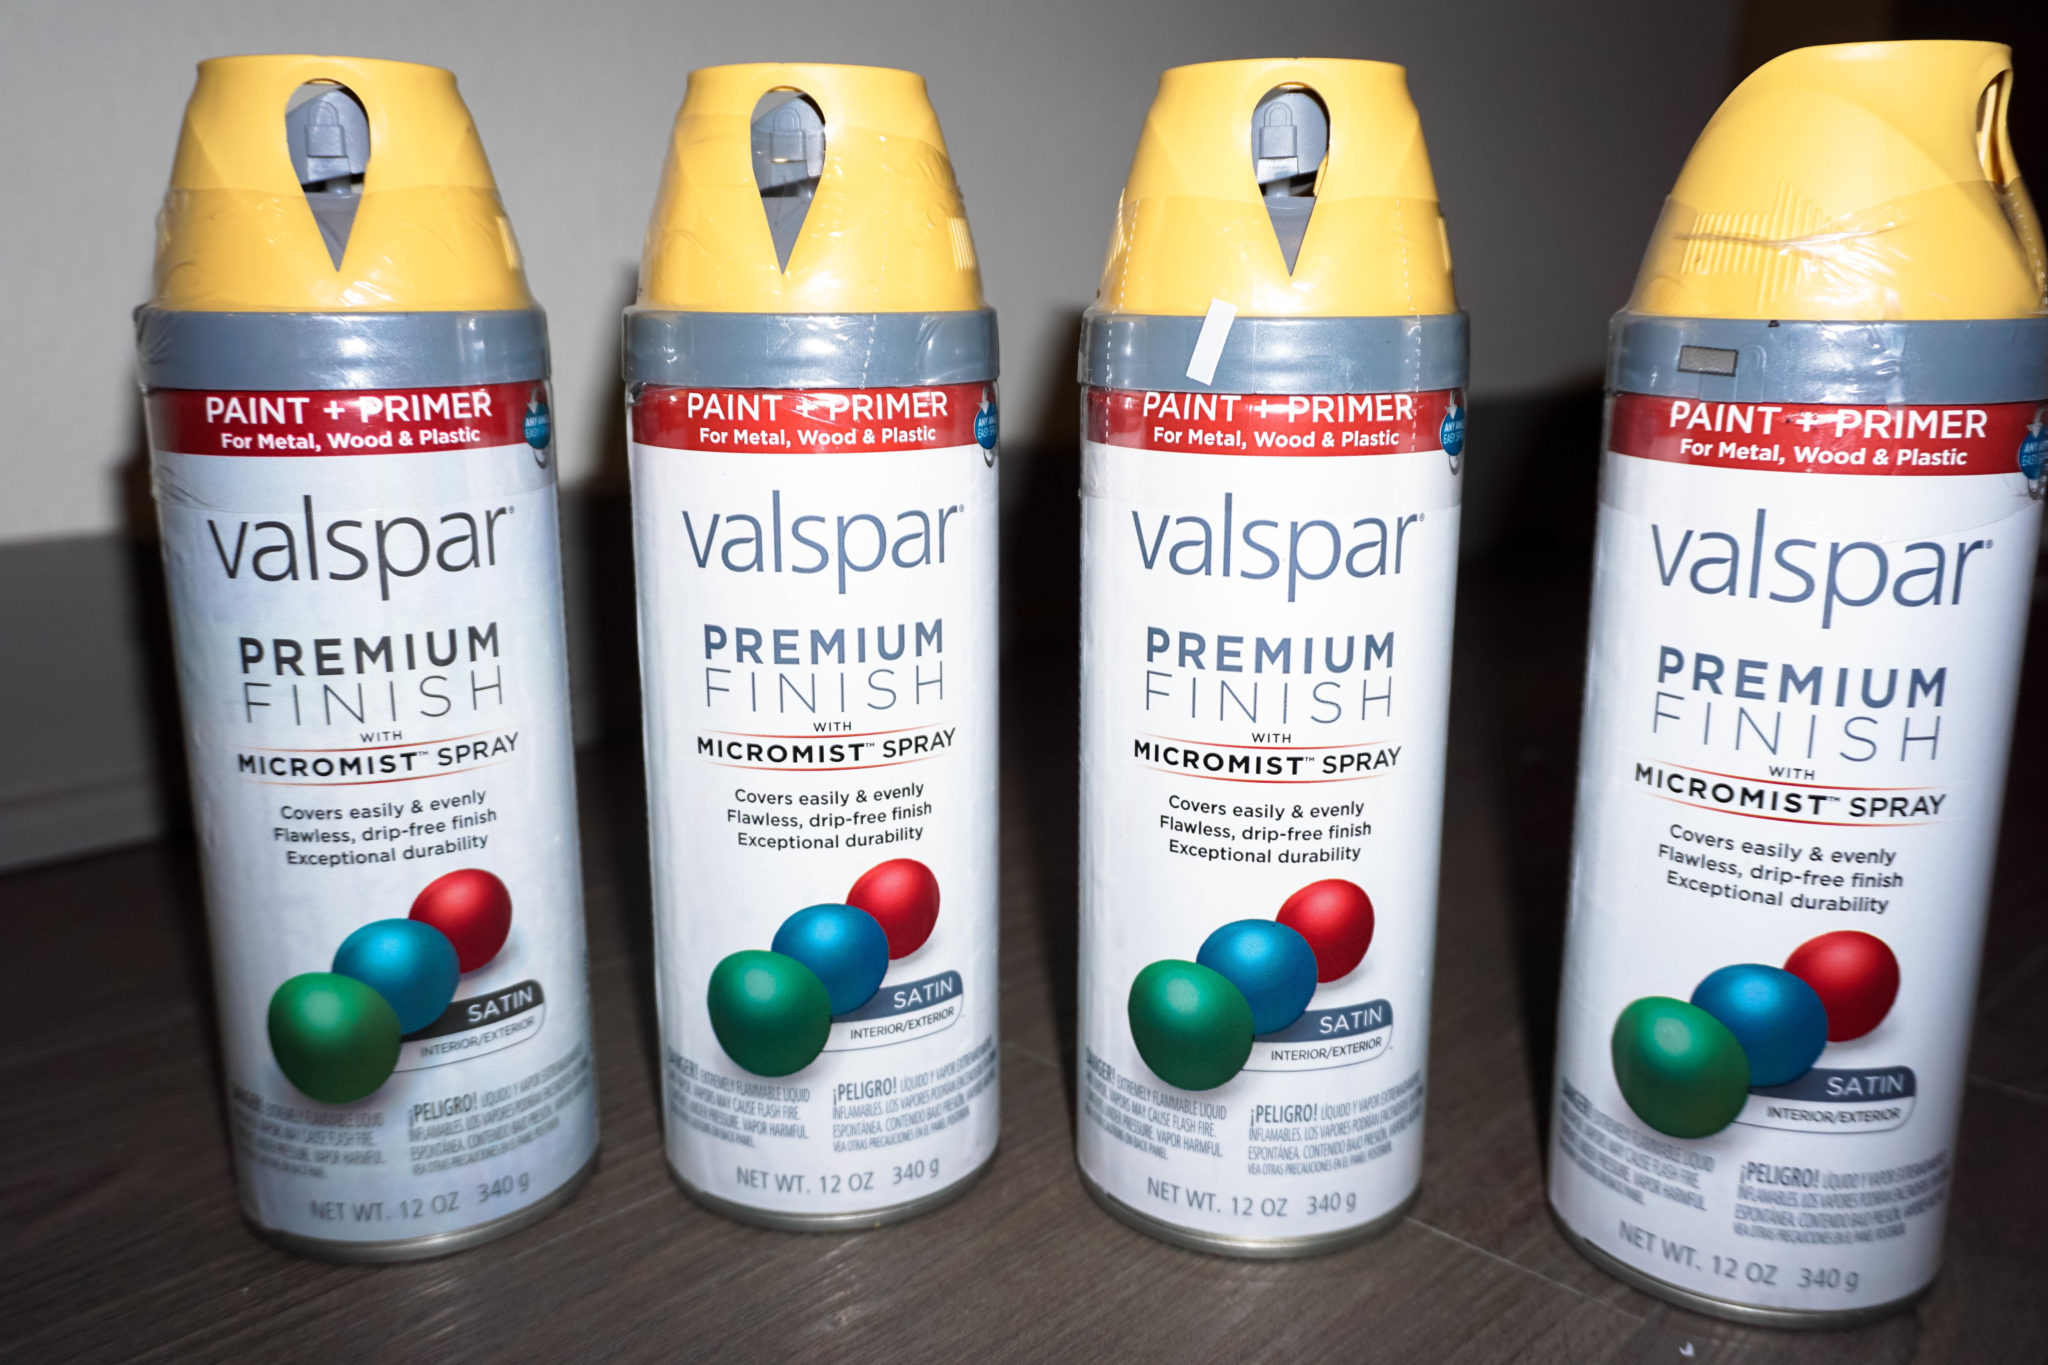
Spray Paint (Color of your choice)
PATIENCE!!!!!!!
I definitely suggest going to your local Dollar Store and stocking up on the spoons! I bought about 13 bags! I did have some extra at the end, but better safe than sorry. DO NOT want to buy super heavy duty spoons because they are difficult to cut!!Craft Scissors: Michaels: $24.99 Glue Sticks 40 pack: Michaels: $6.99Glue gun: Micheals $3.99 Compass: Michaels $6.99 X-Acto Knife: Michaels $10.99
Alright, after we get our materials all set it’s time to get started!!!
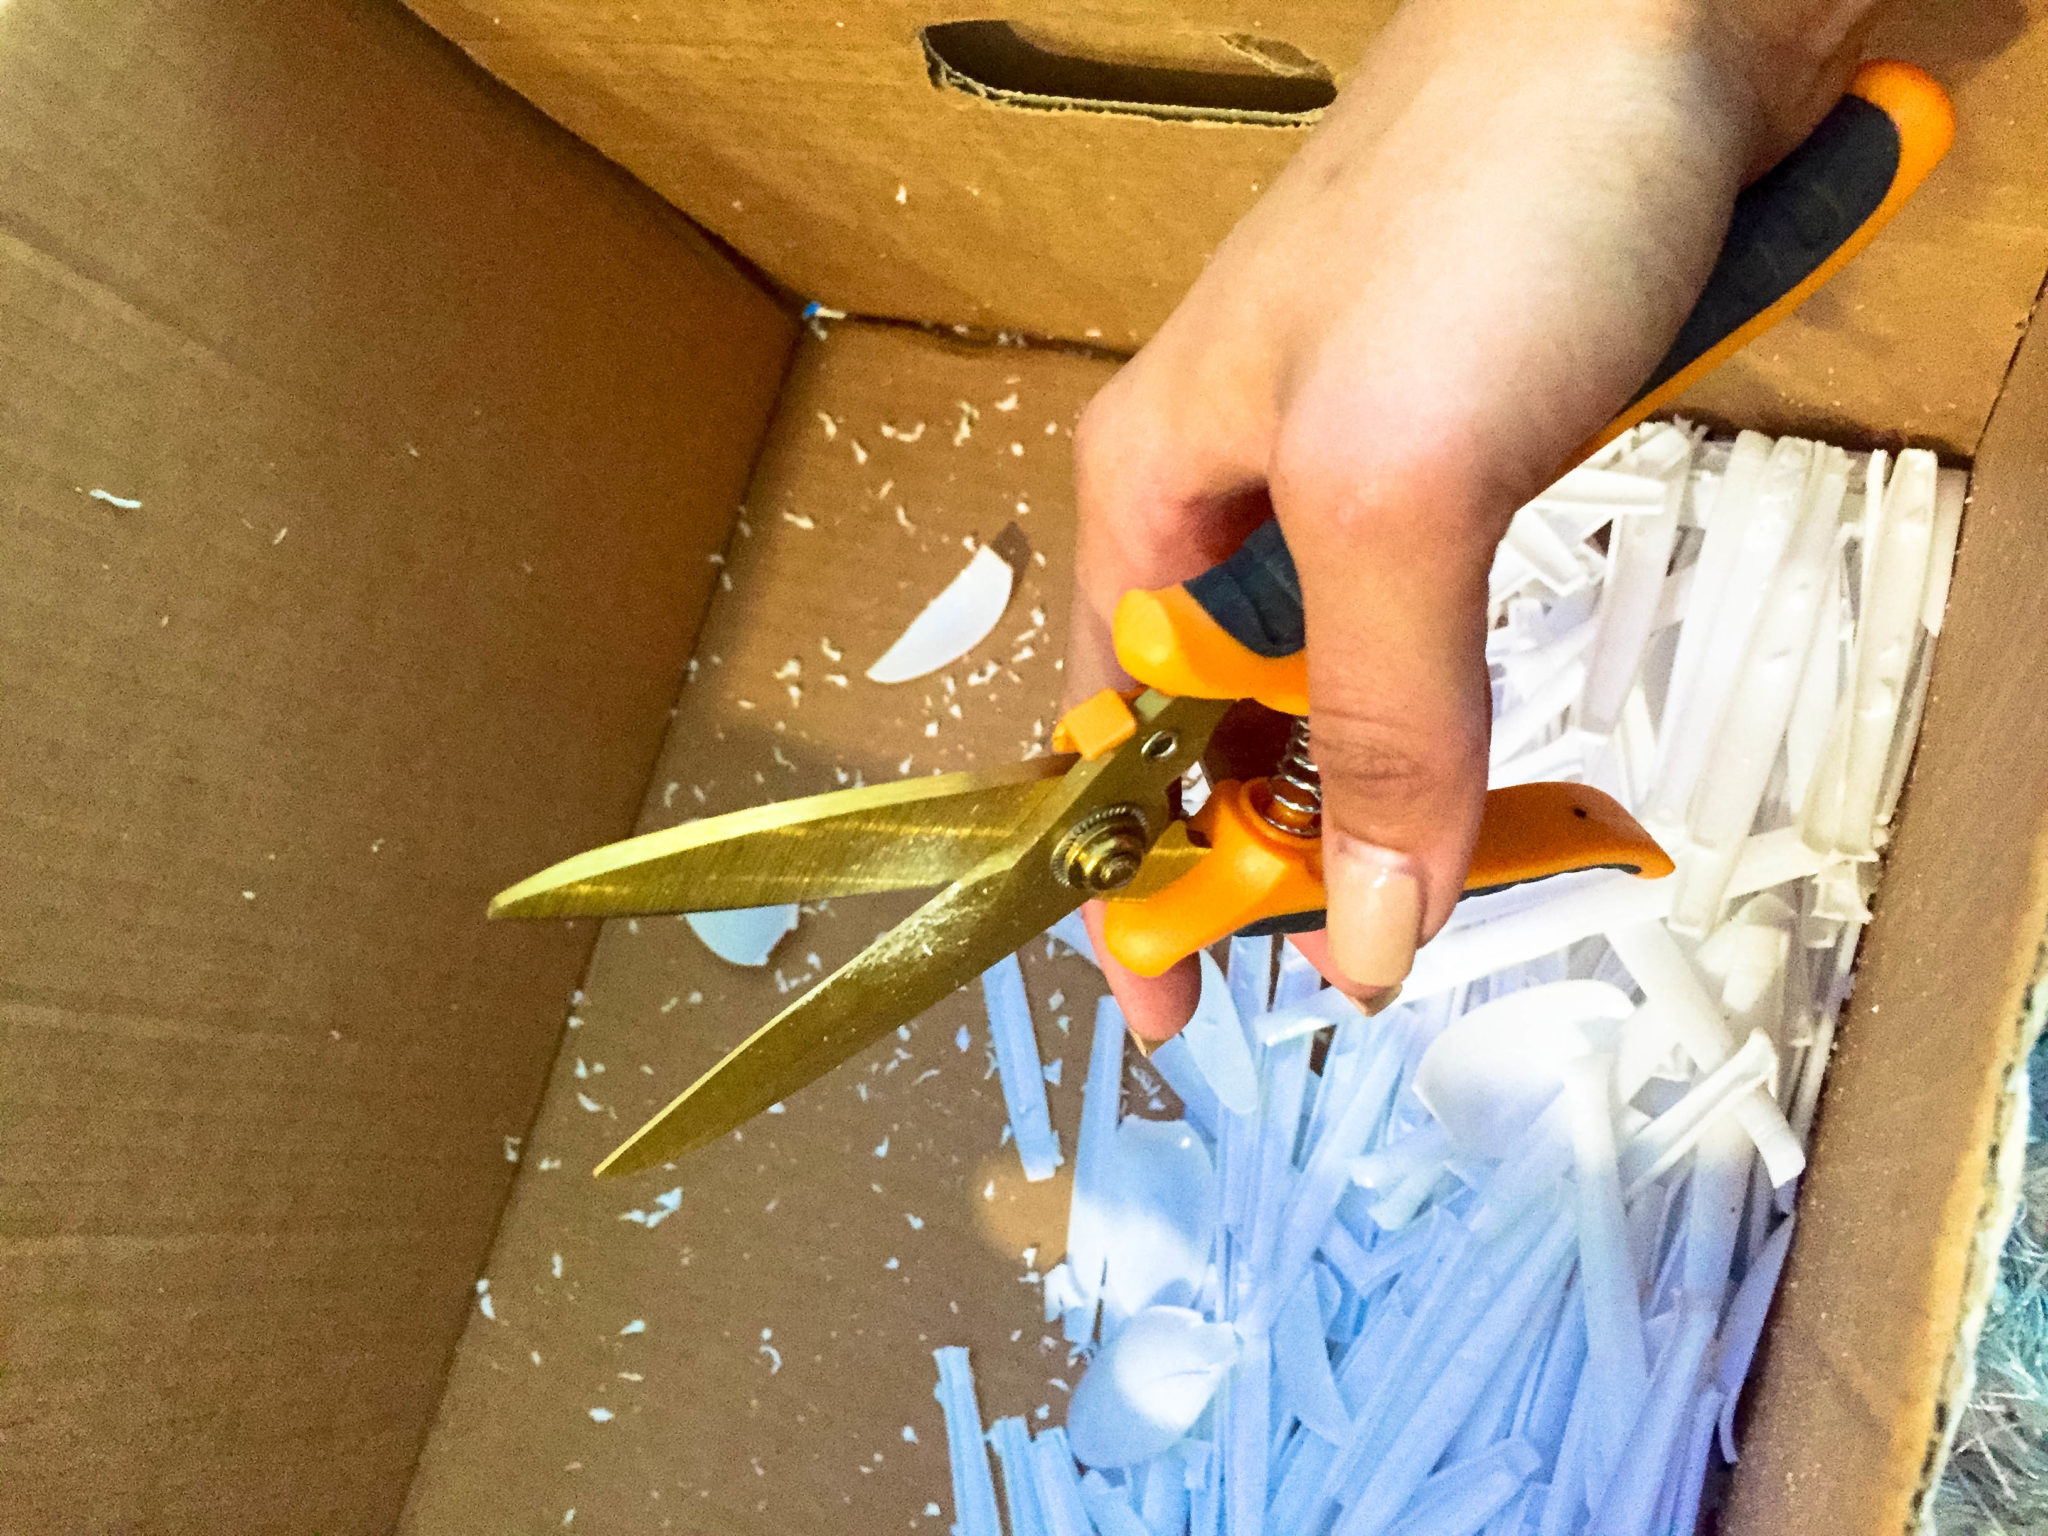
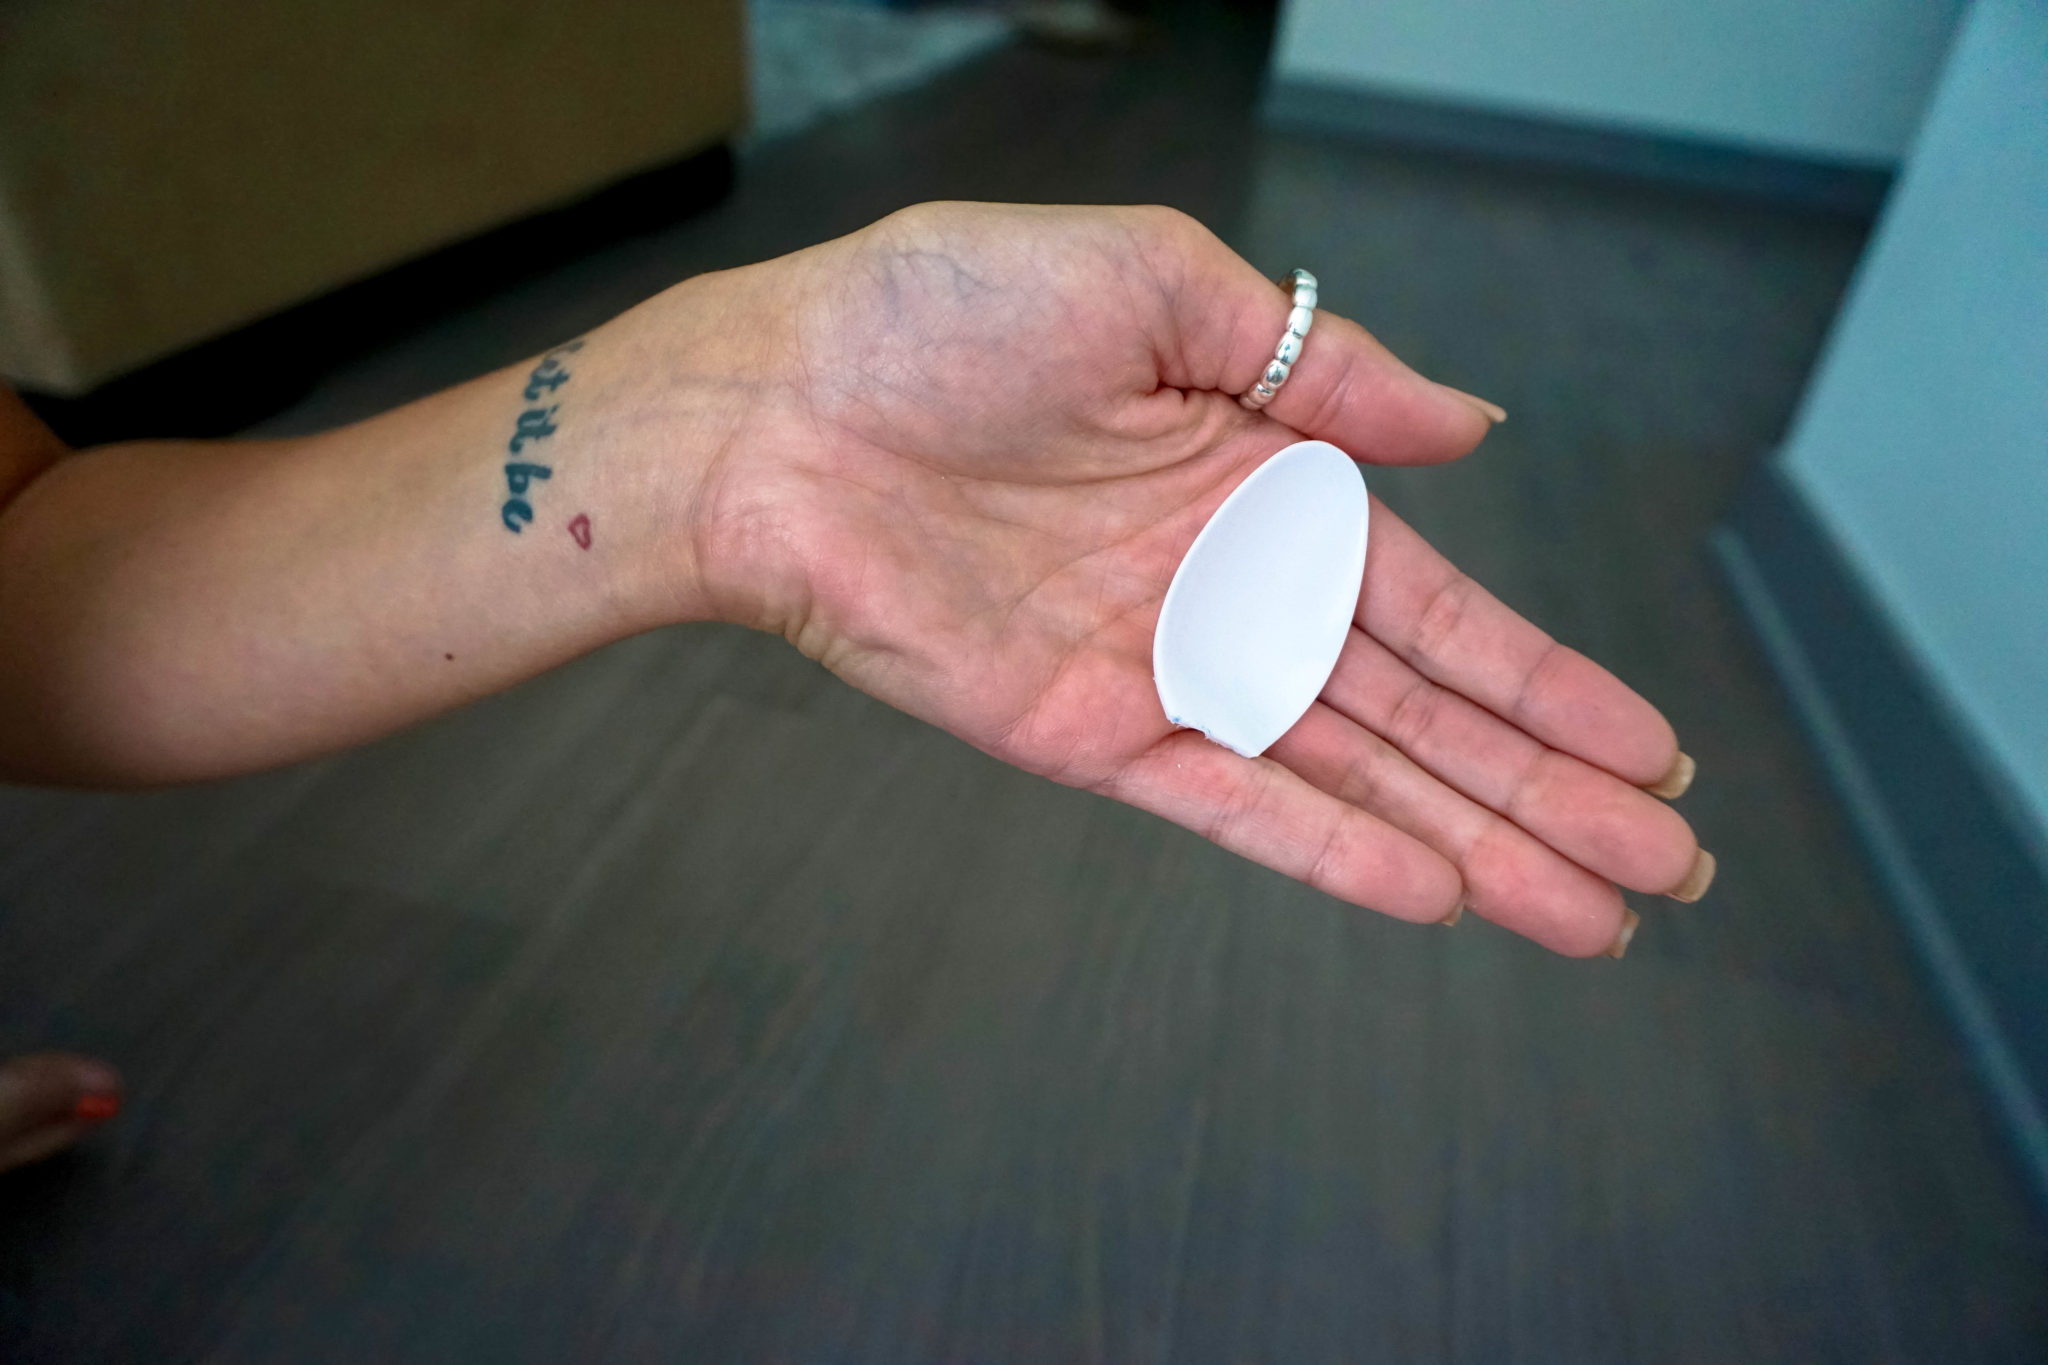
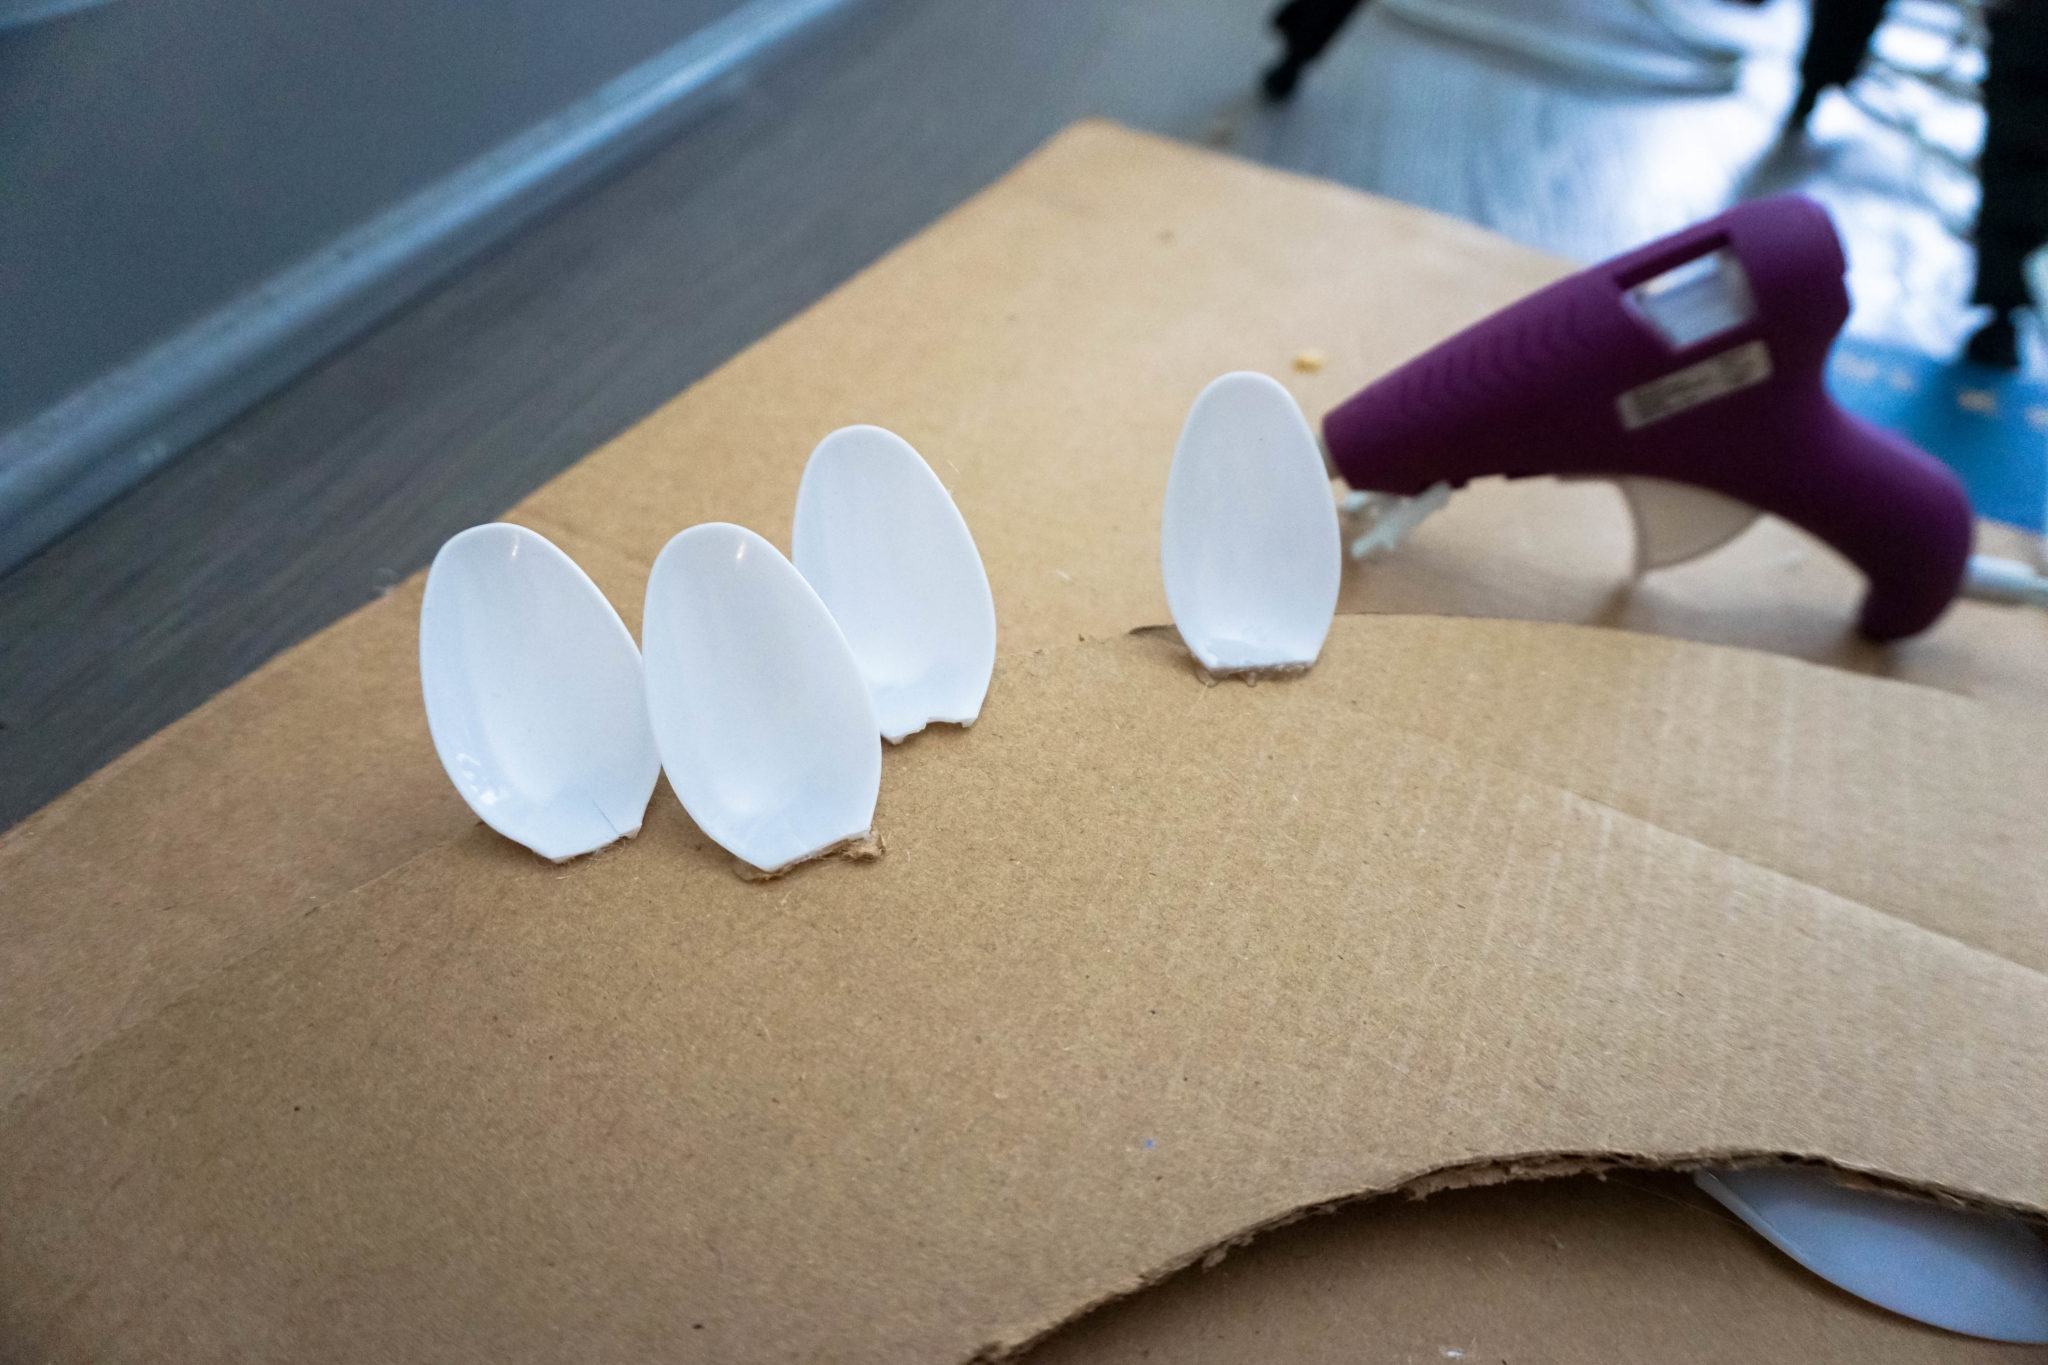
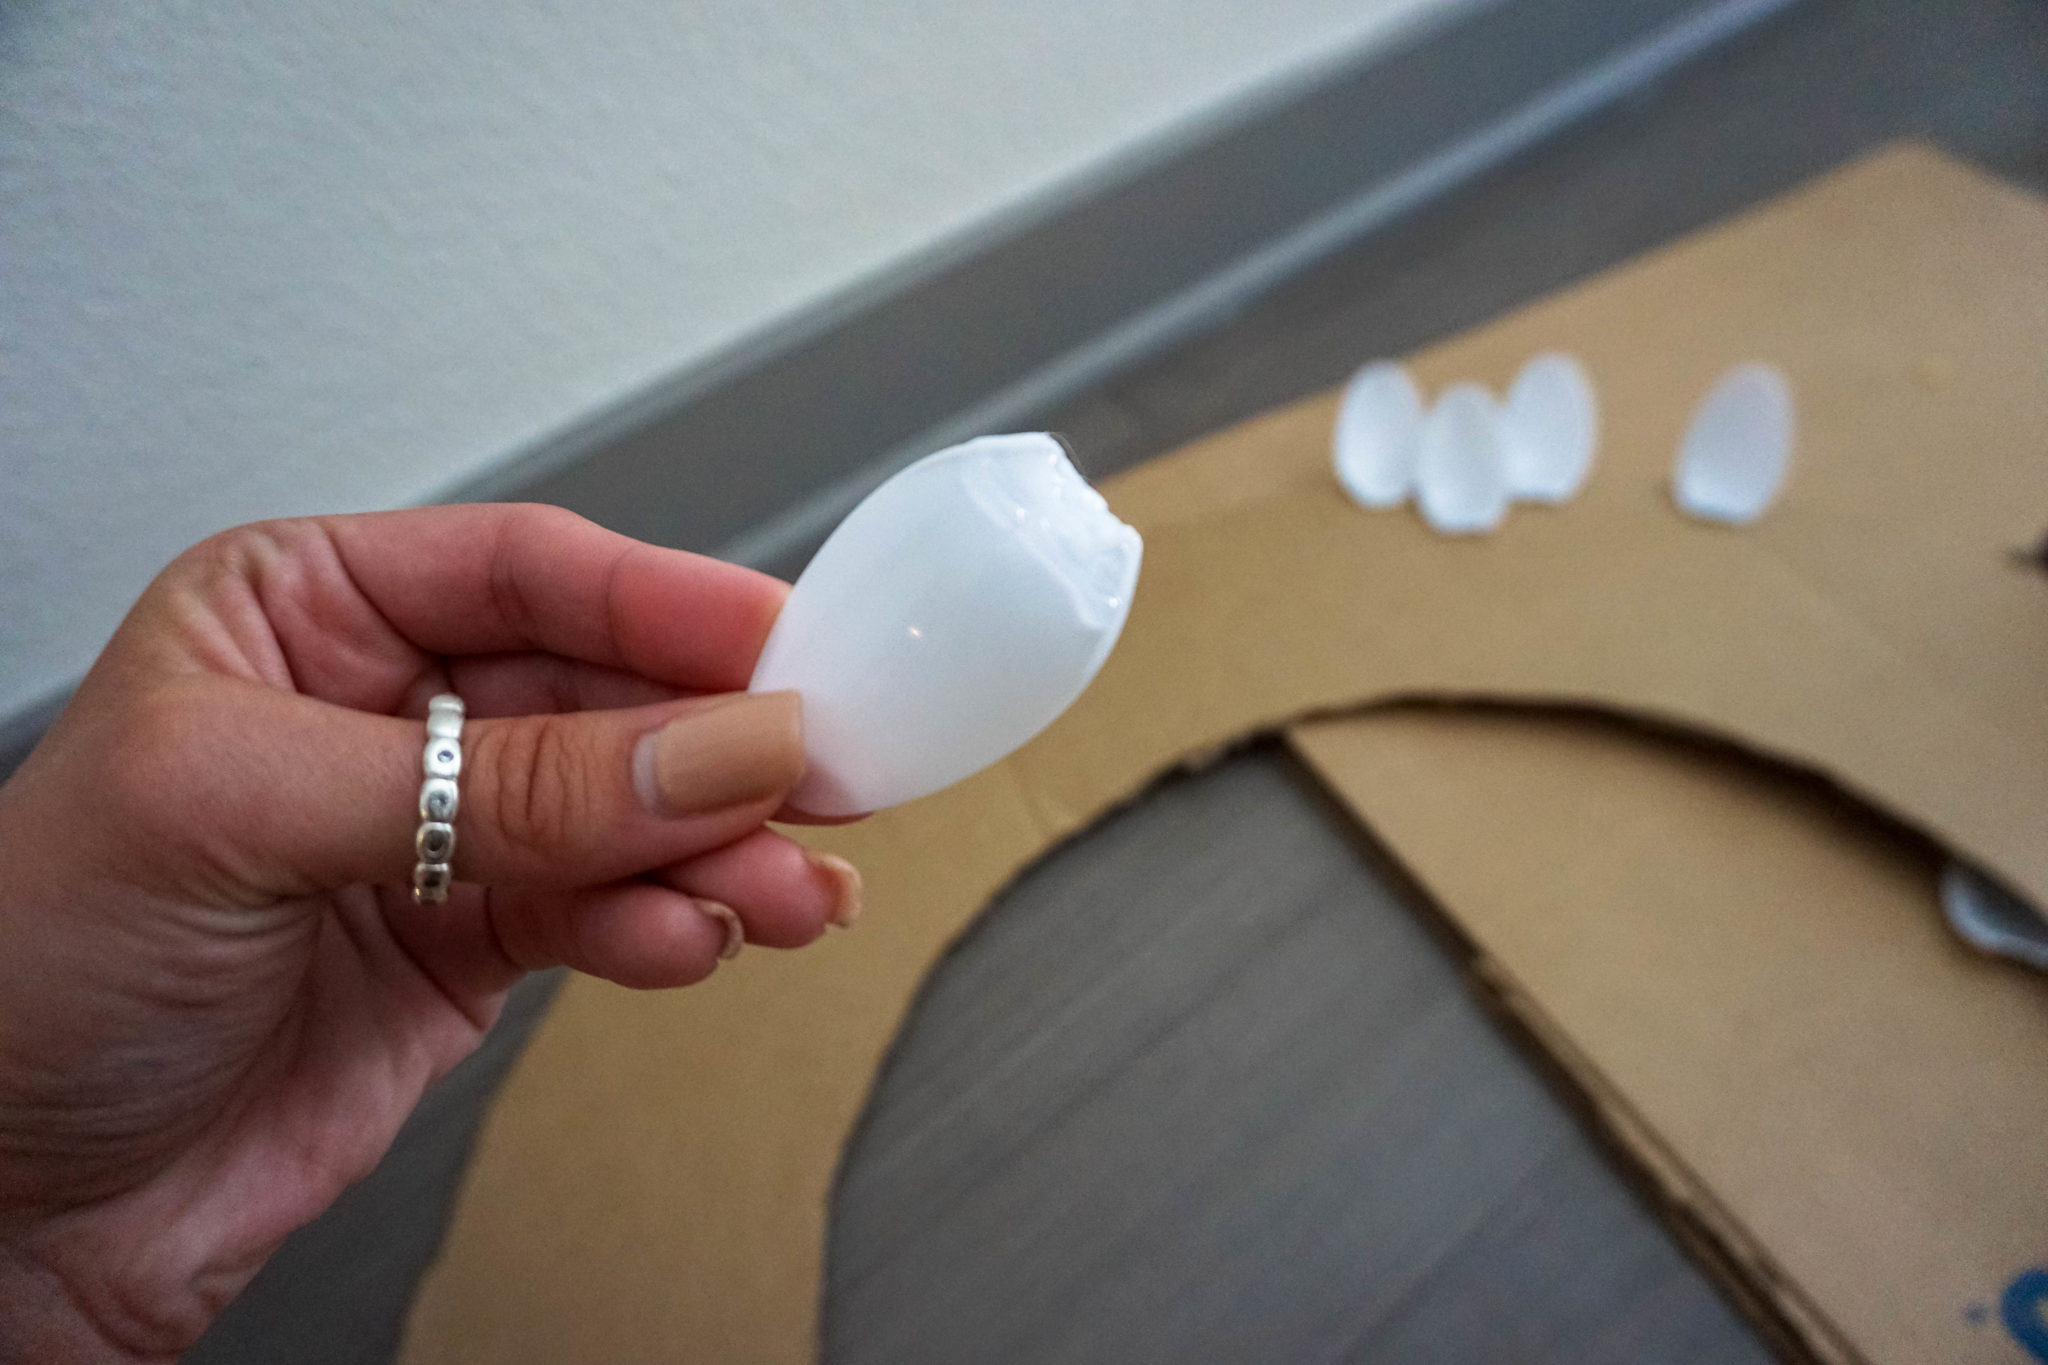
Step 1: Cut the “Heads” or circle part off of the spoons.
Cut only the “head” of the spoon off!
This will take some time, but be patient and try to cut as accurate as possible.
You can of course do this with normal house scissors, it is just a lot harder!! I figured this out half way through! So if I were you, I’d grab some craft scissors!NOTE: Little shards of plastic fly where when cutting the spoons, so I used a box as a way to trap those pieces from going everywhere. (Be Careful: Those small pieces DO NOT feel good when you step on them.)
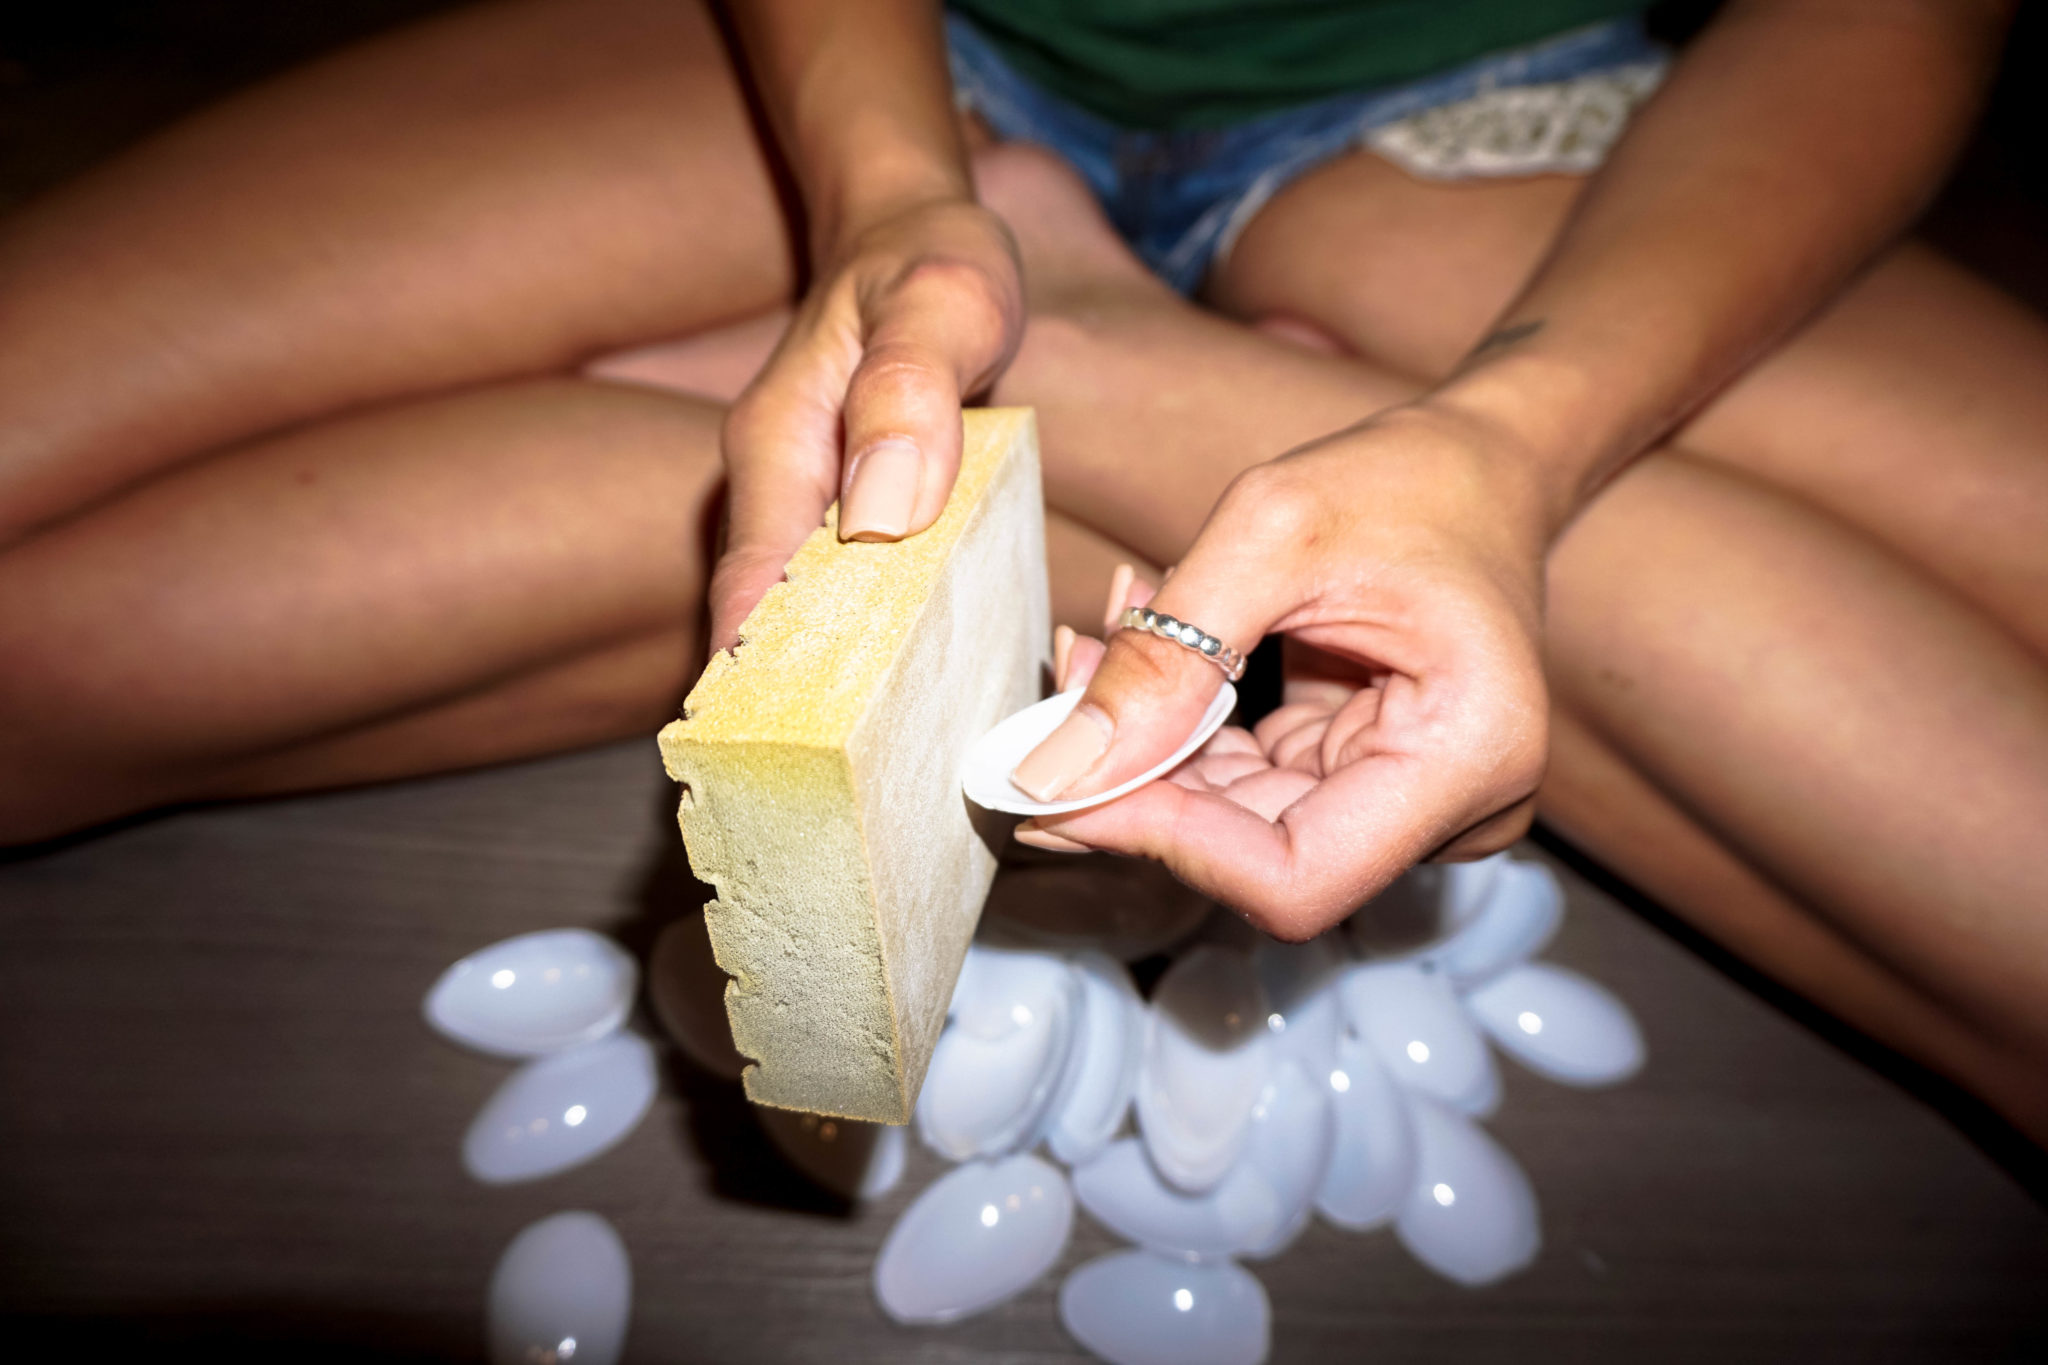
Step 2: Start Sanding the edges of the spoon that you just cut!
NOTE: Sand the bottoms of your cut spoons. This just helps when you’re ready to spray paint! I wouldn’t say it’s a necessity.. but better go big than go home.
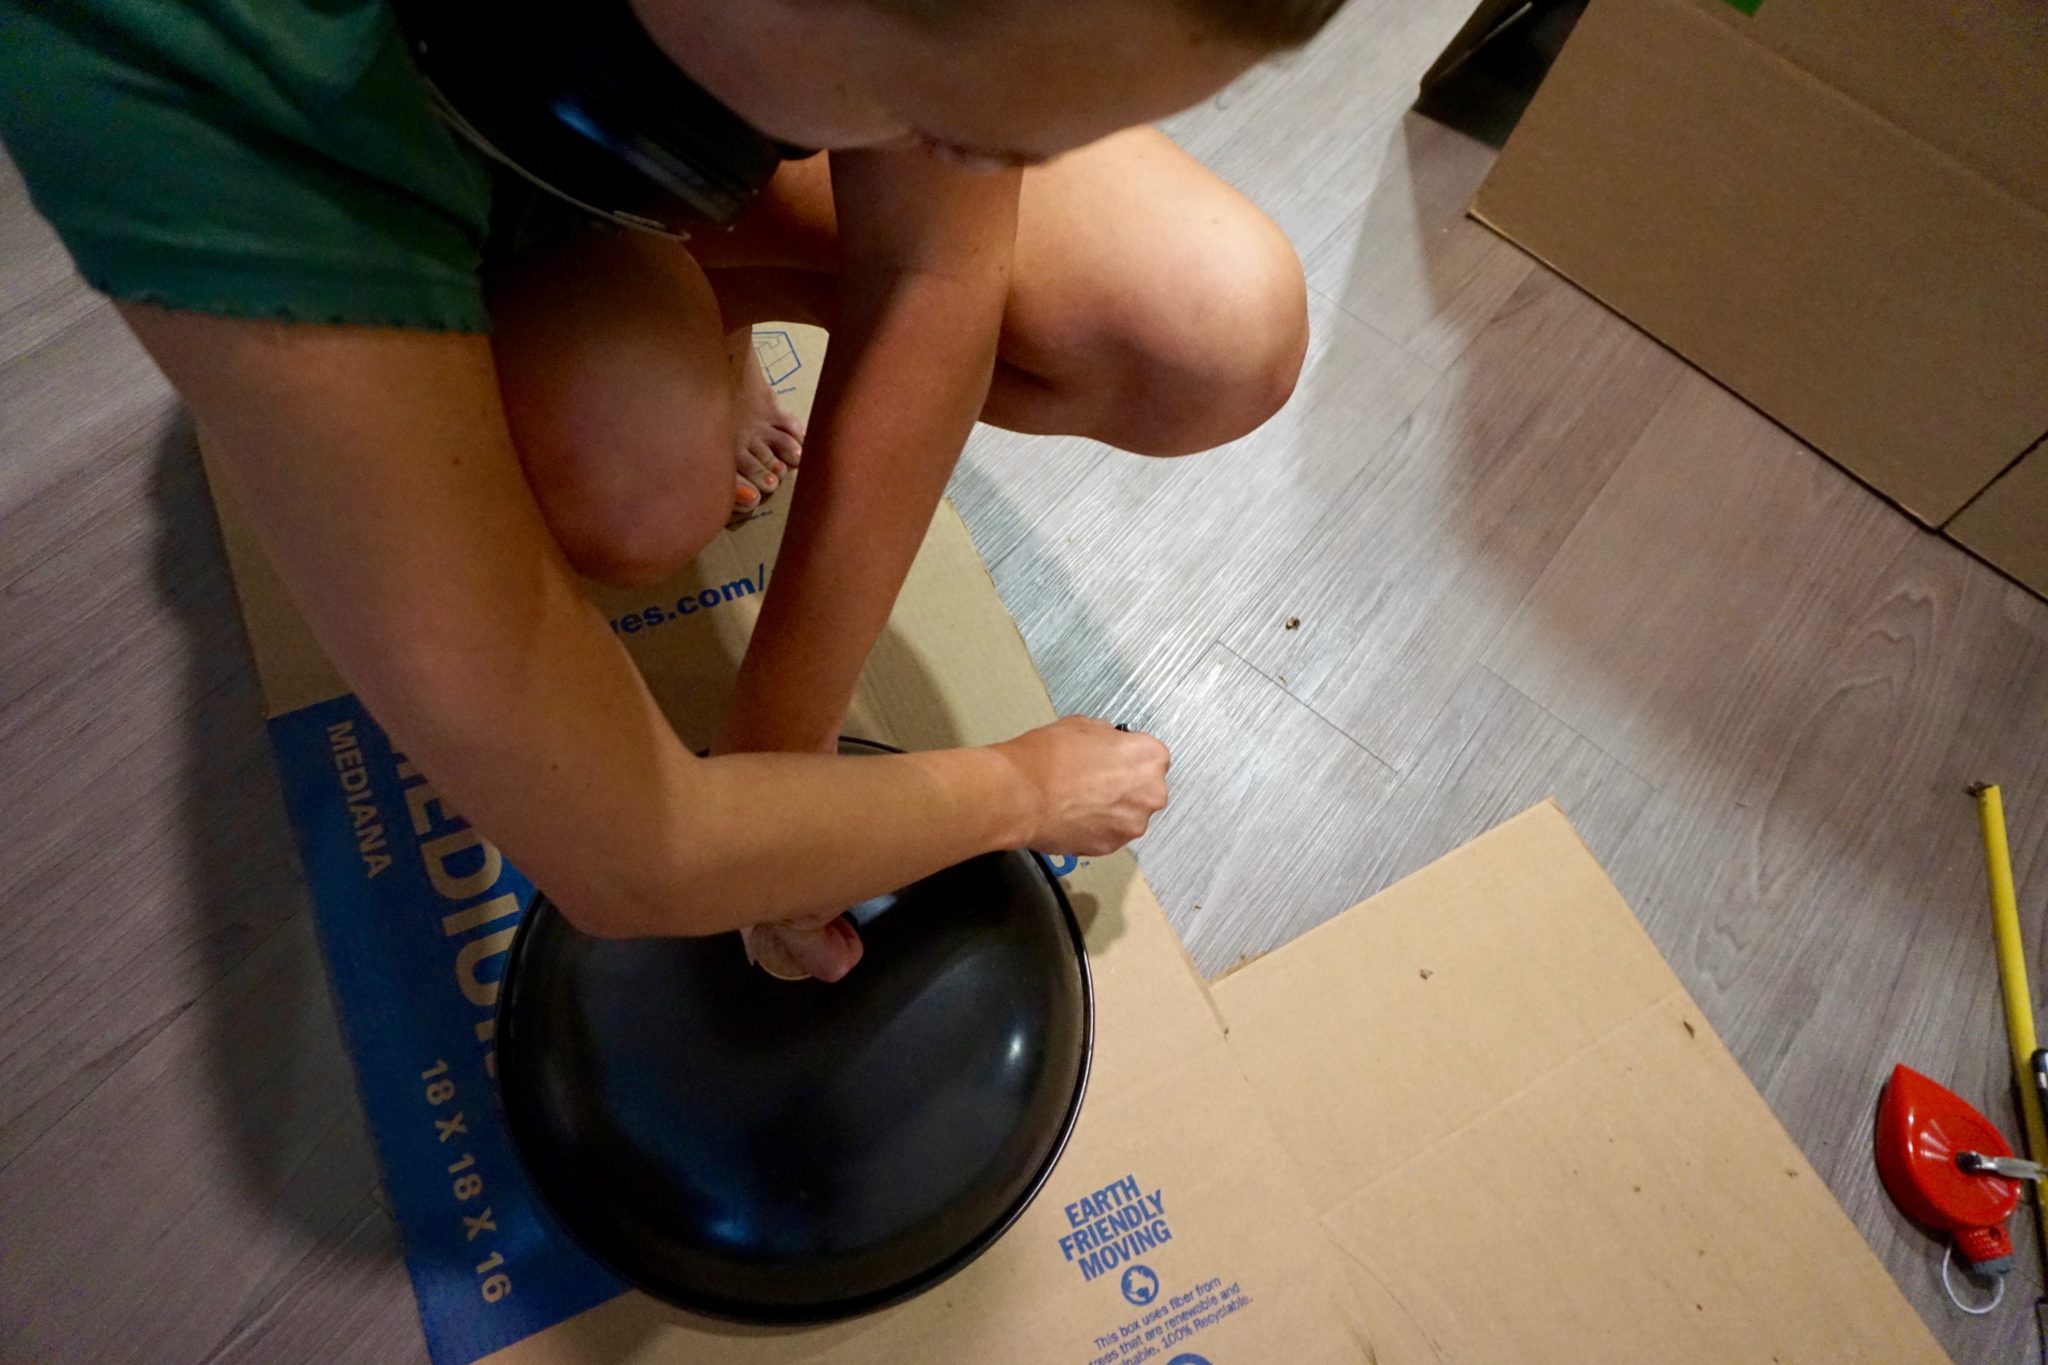
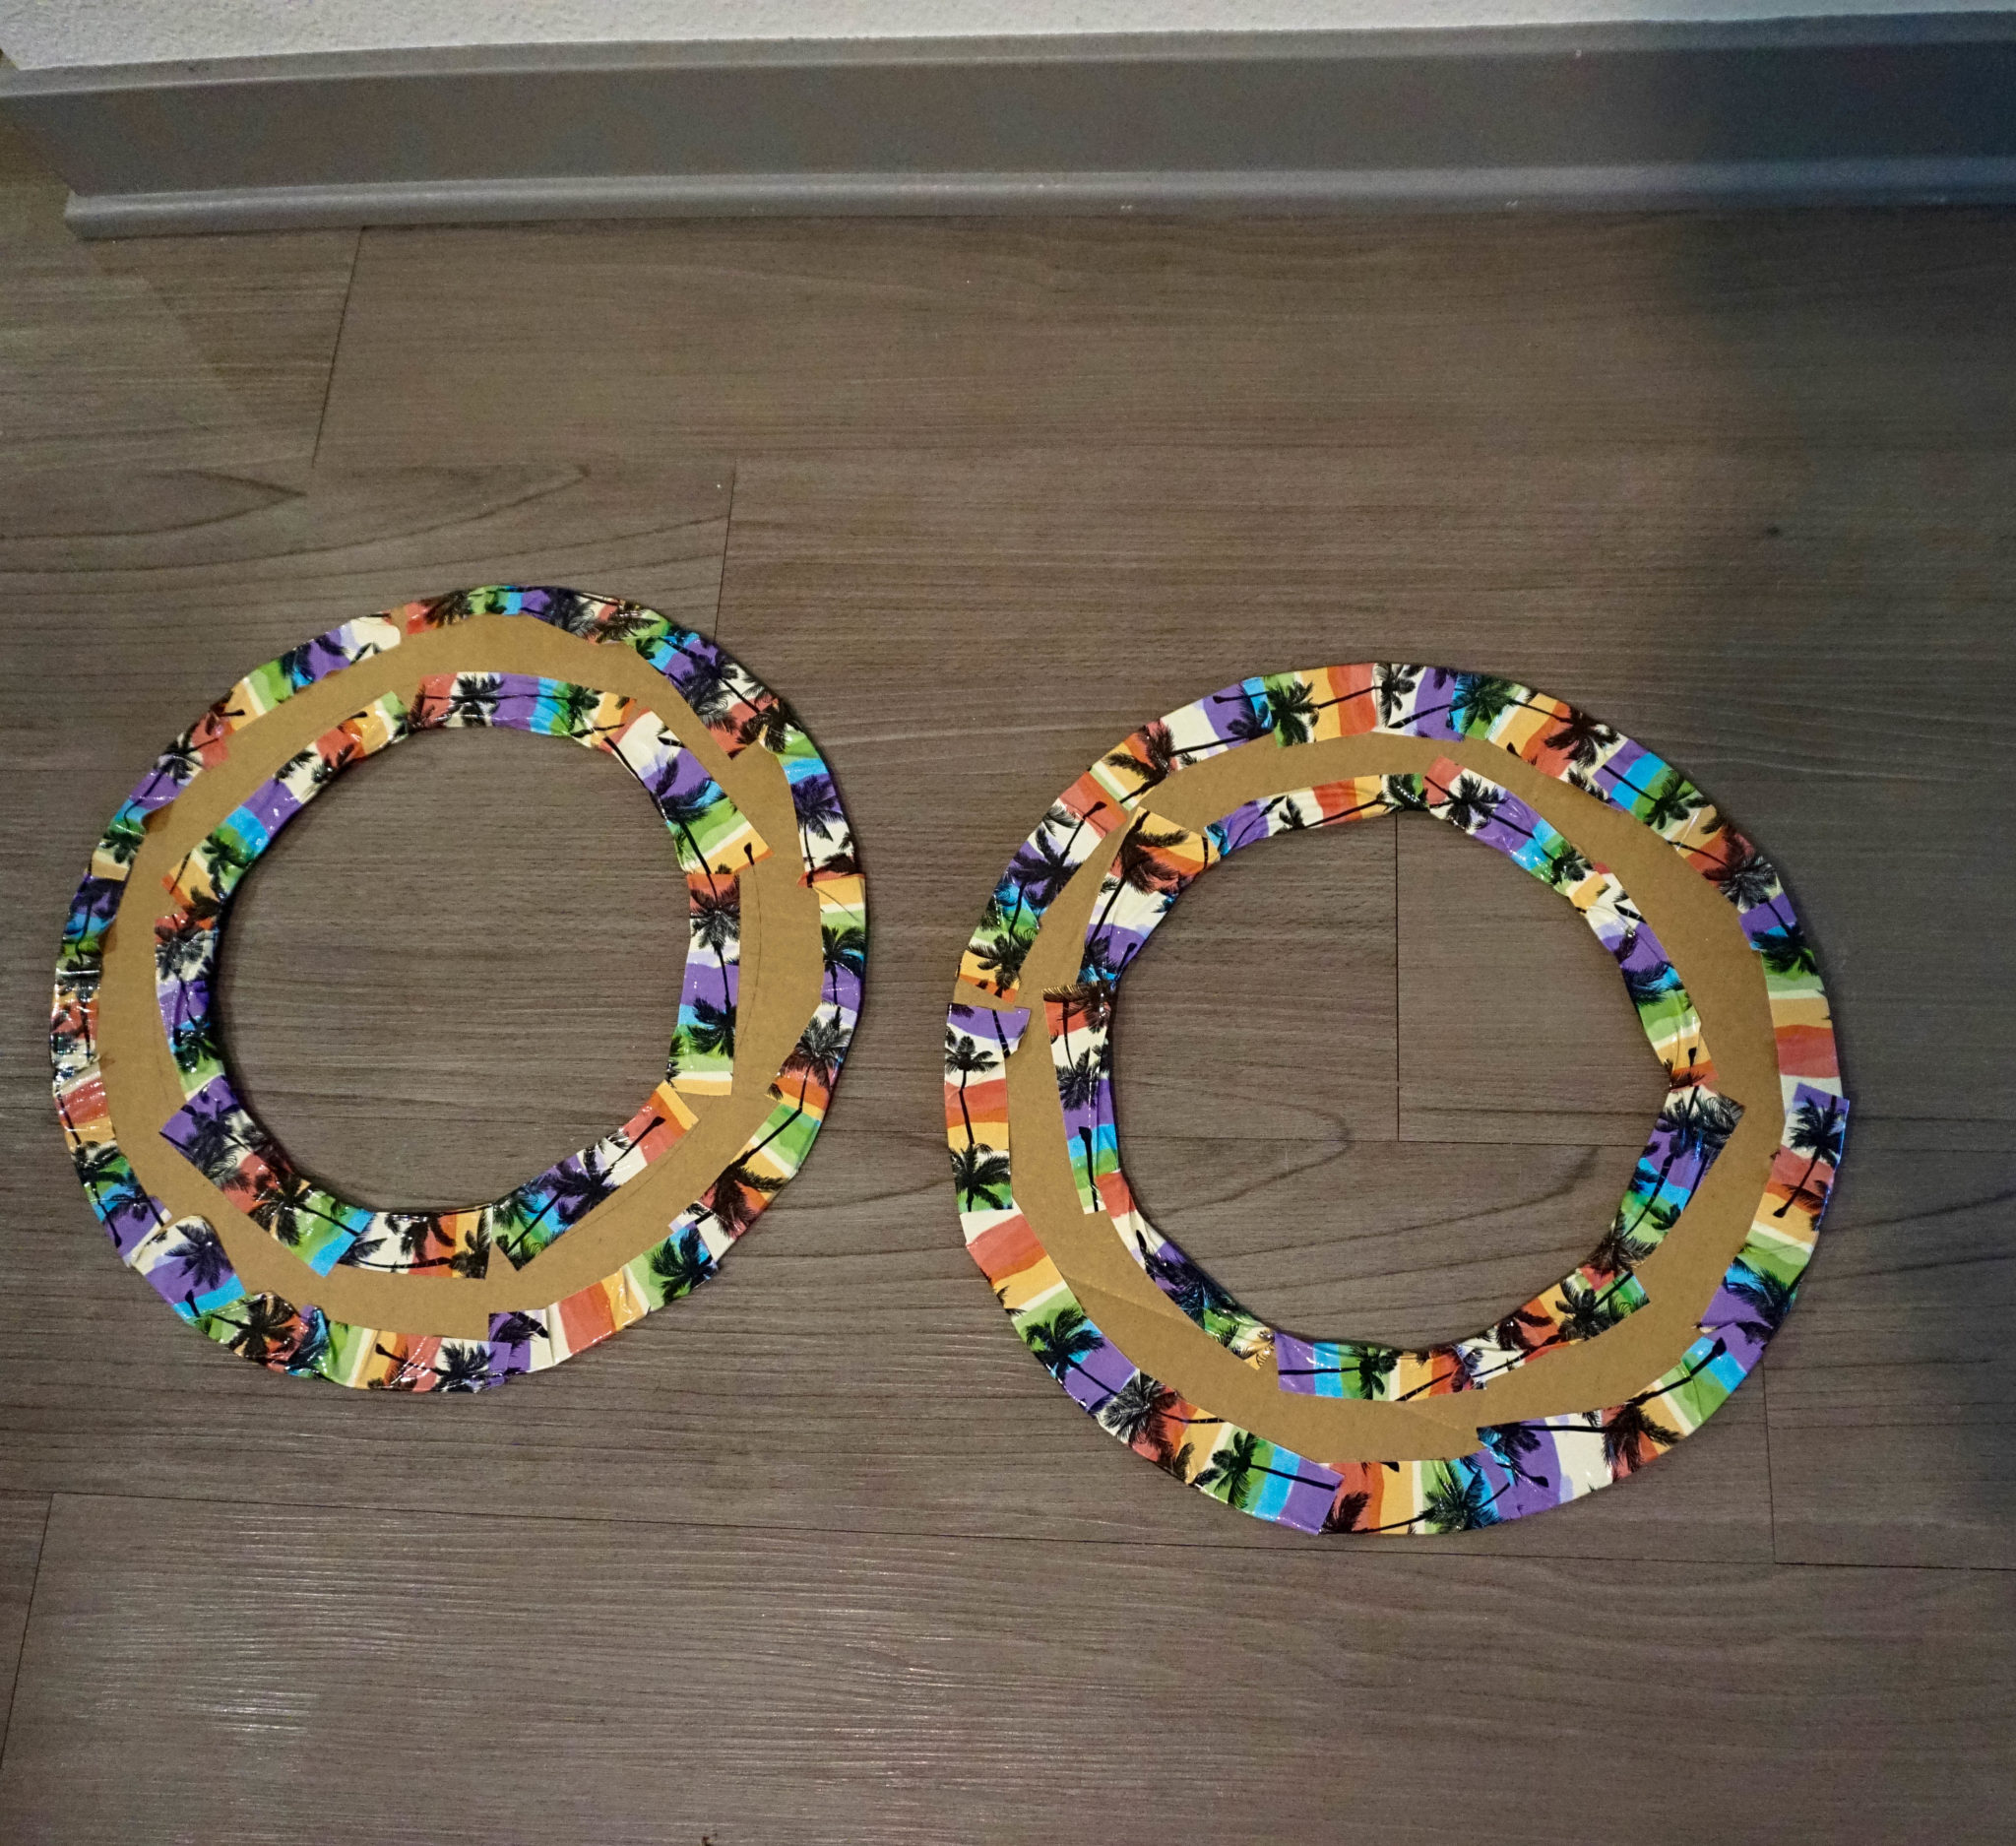
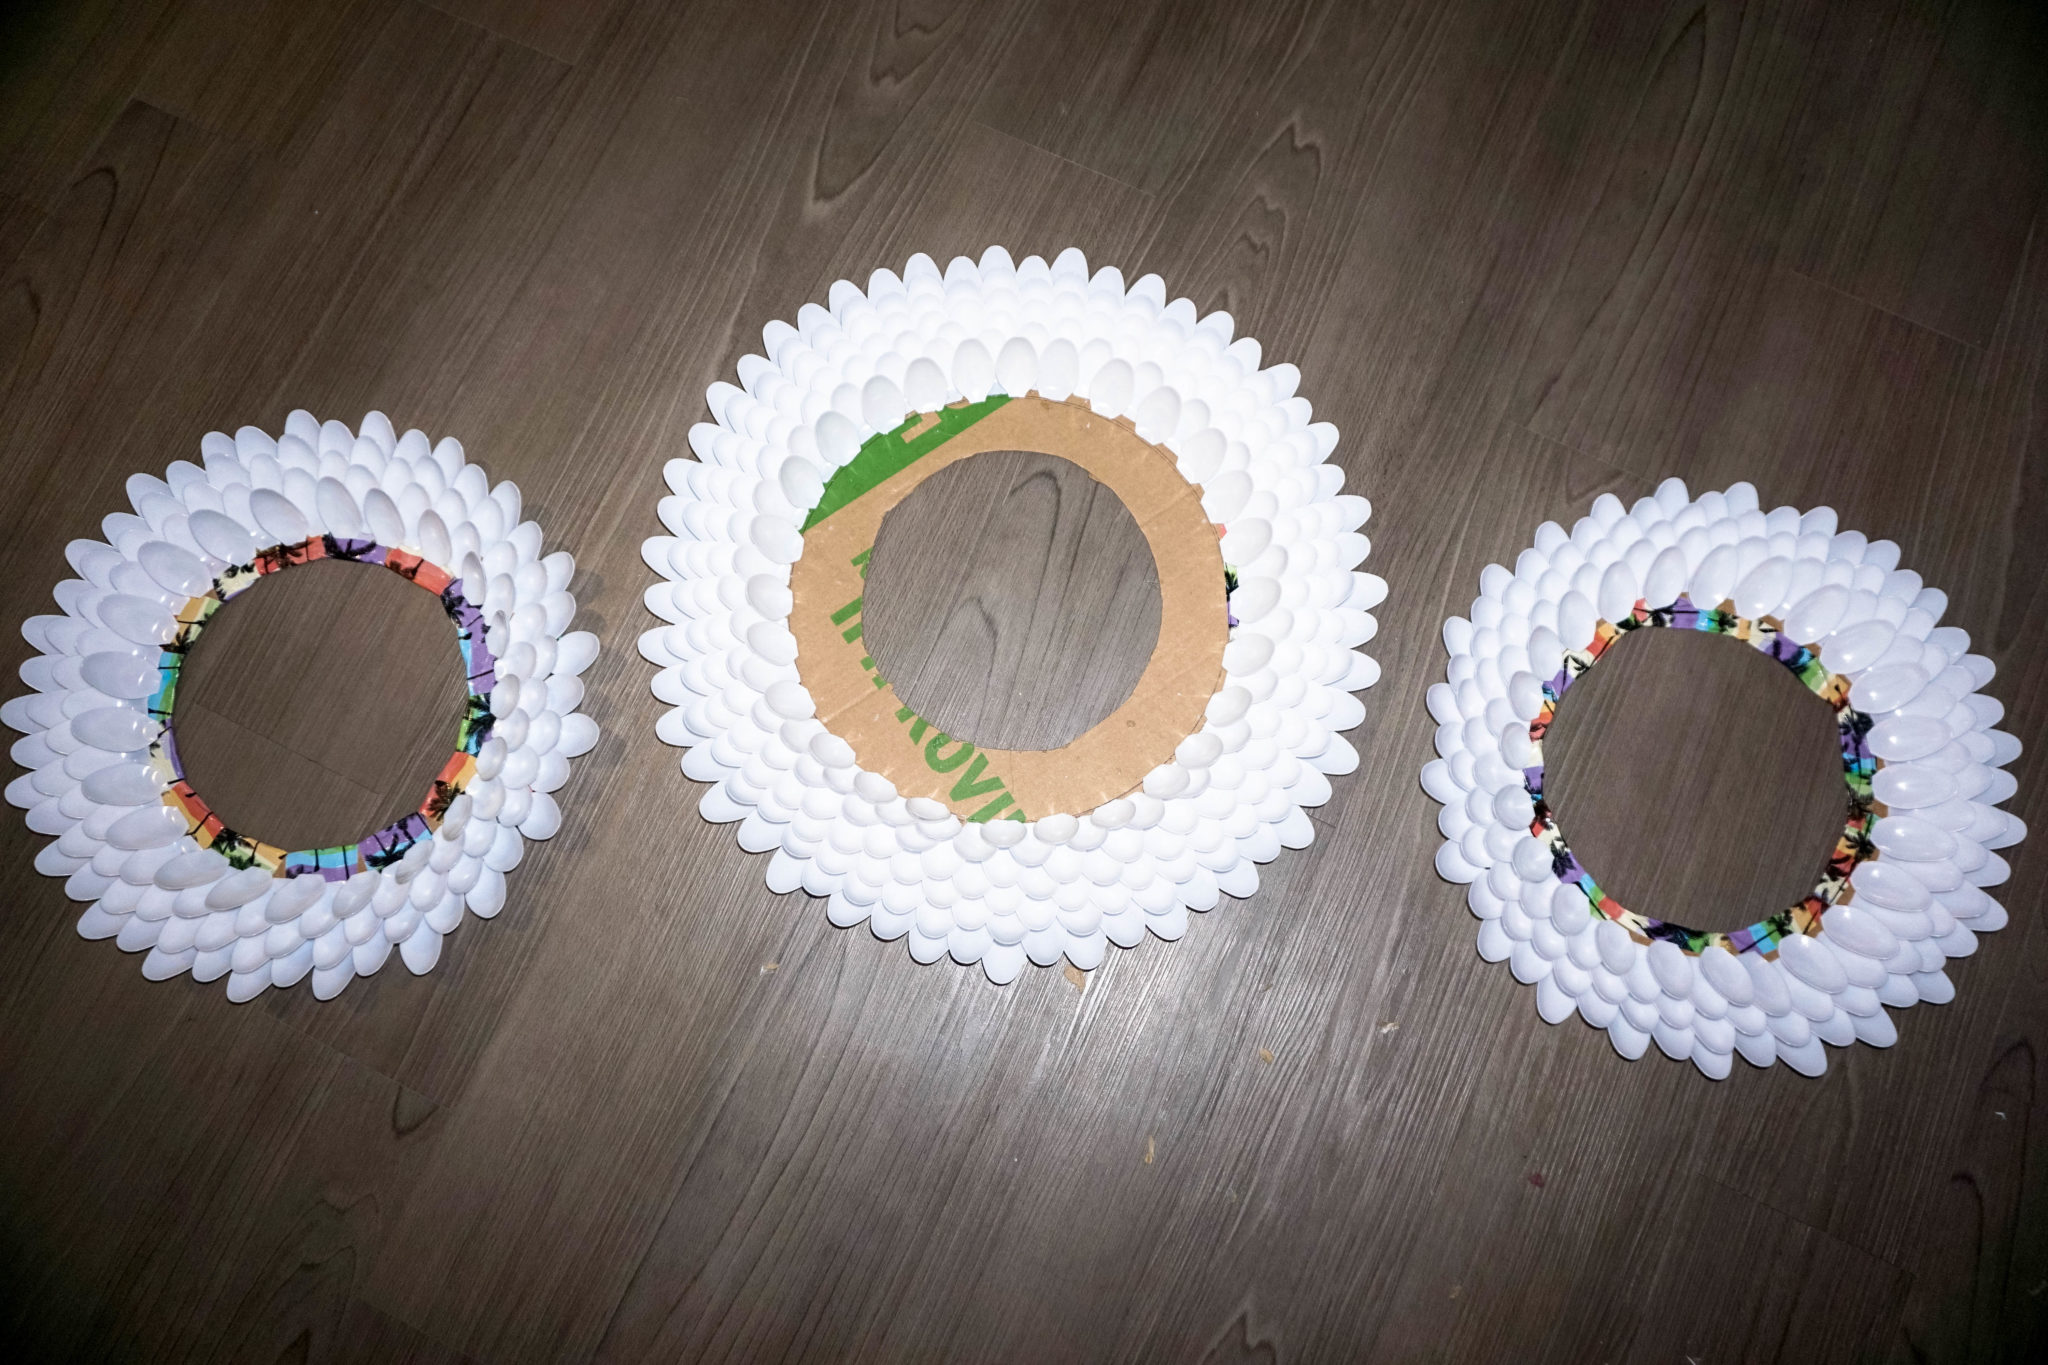
Step 3: Prepare your wreaths on cardboard box. This is where your compass comes in handy.
2) small circles: 12in
1) large circle: 22in
NOTE: No matter how big or small you want your wreath, do not cut inside that circle!Numbers are not my strong suit. lol Don’t get frustrated when making the circles!!I’ll be honest, I could’t even pass my college math work shop, So making these circles were a little difficult LOL . I actually found a pot cover the perfect size and ended up just tracing that!
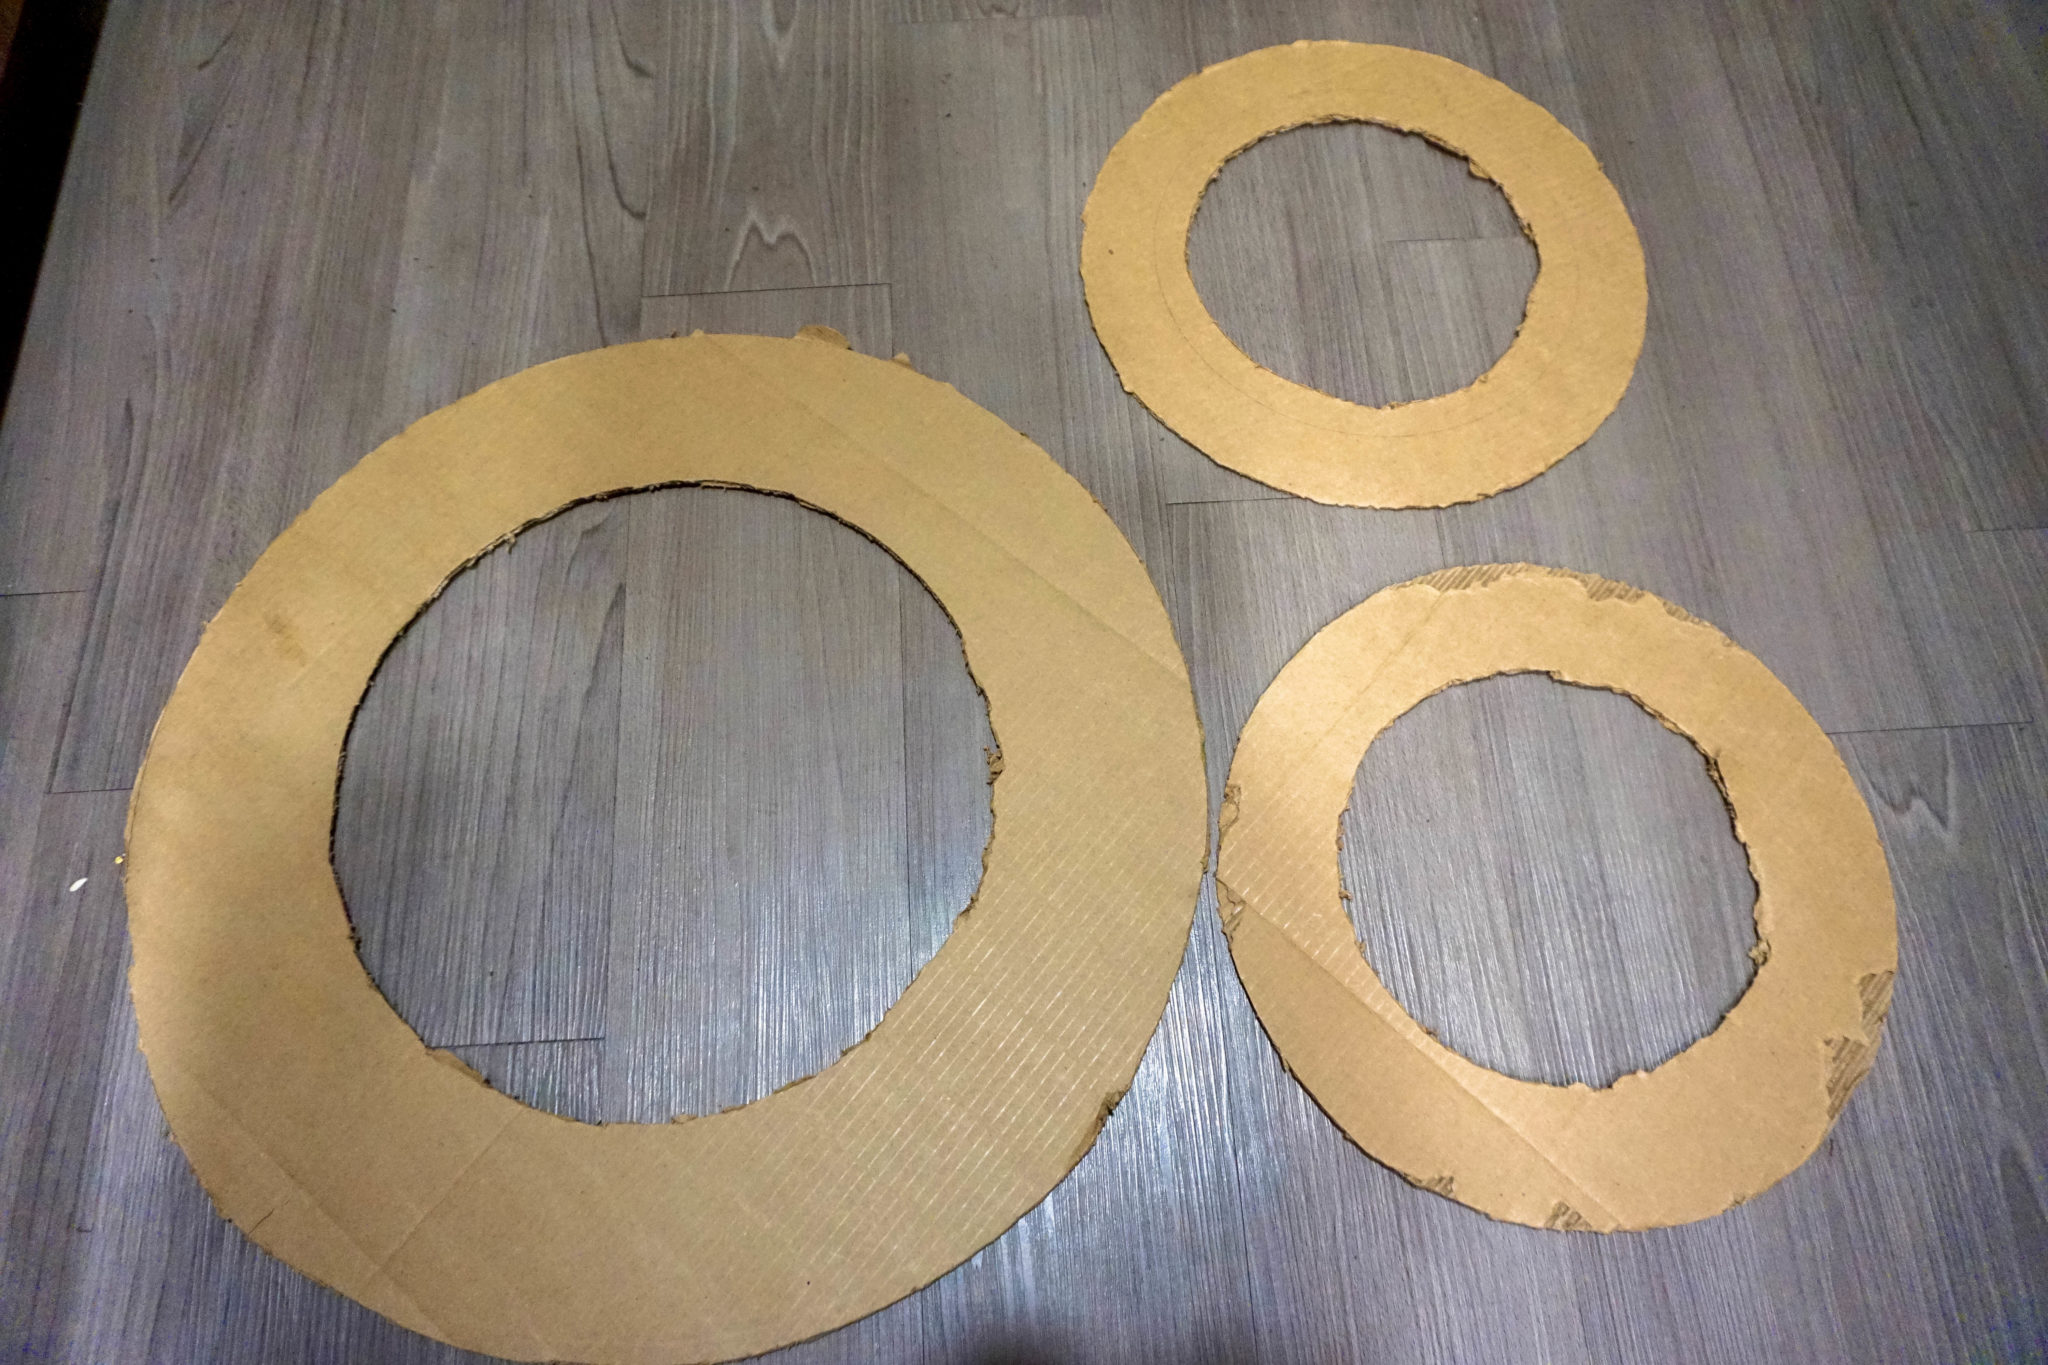
Step 4: Cut out all three wreaths!
Use your X-acto knife to cut your circles from the cardboard.
Optional: add duct tape to the wreaths to ensure smooth clean edges. I did not do this to the big one.
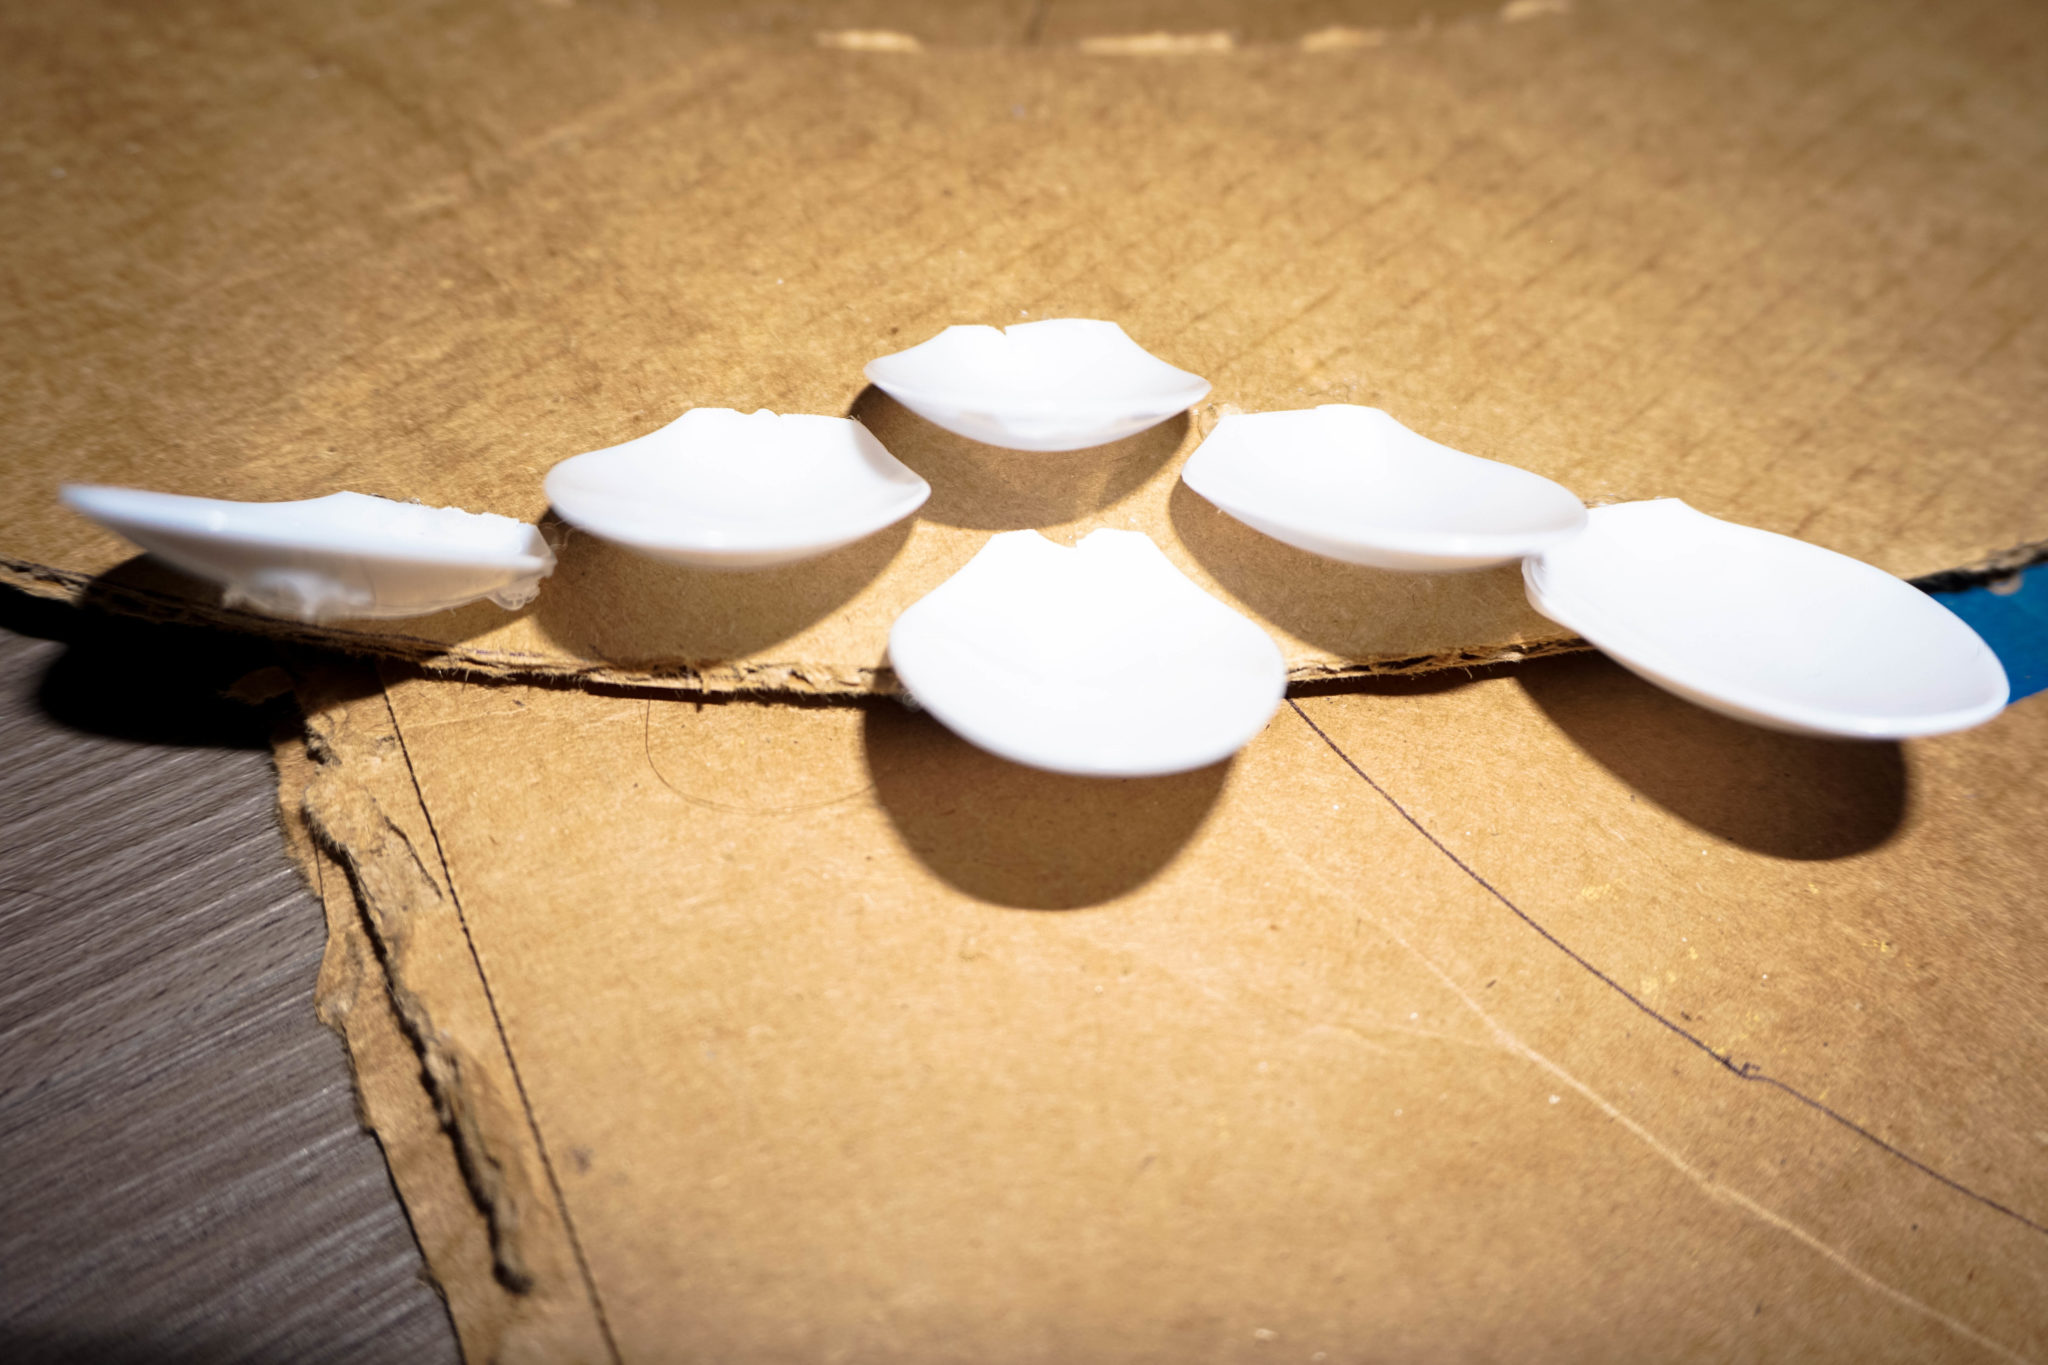
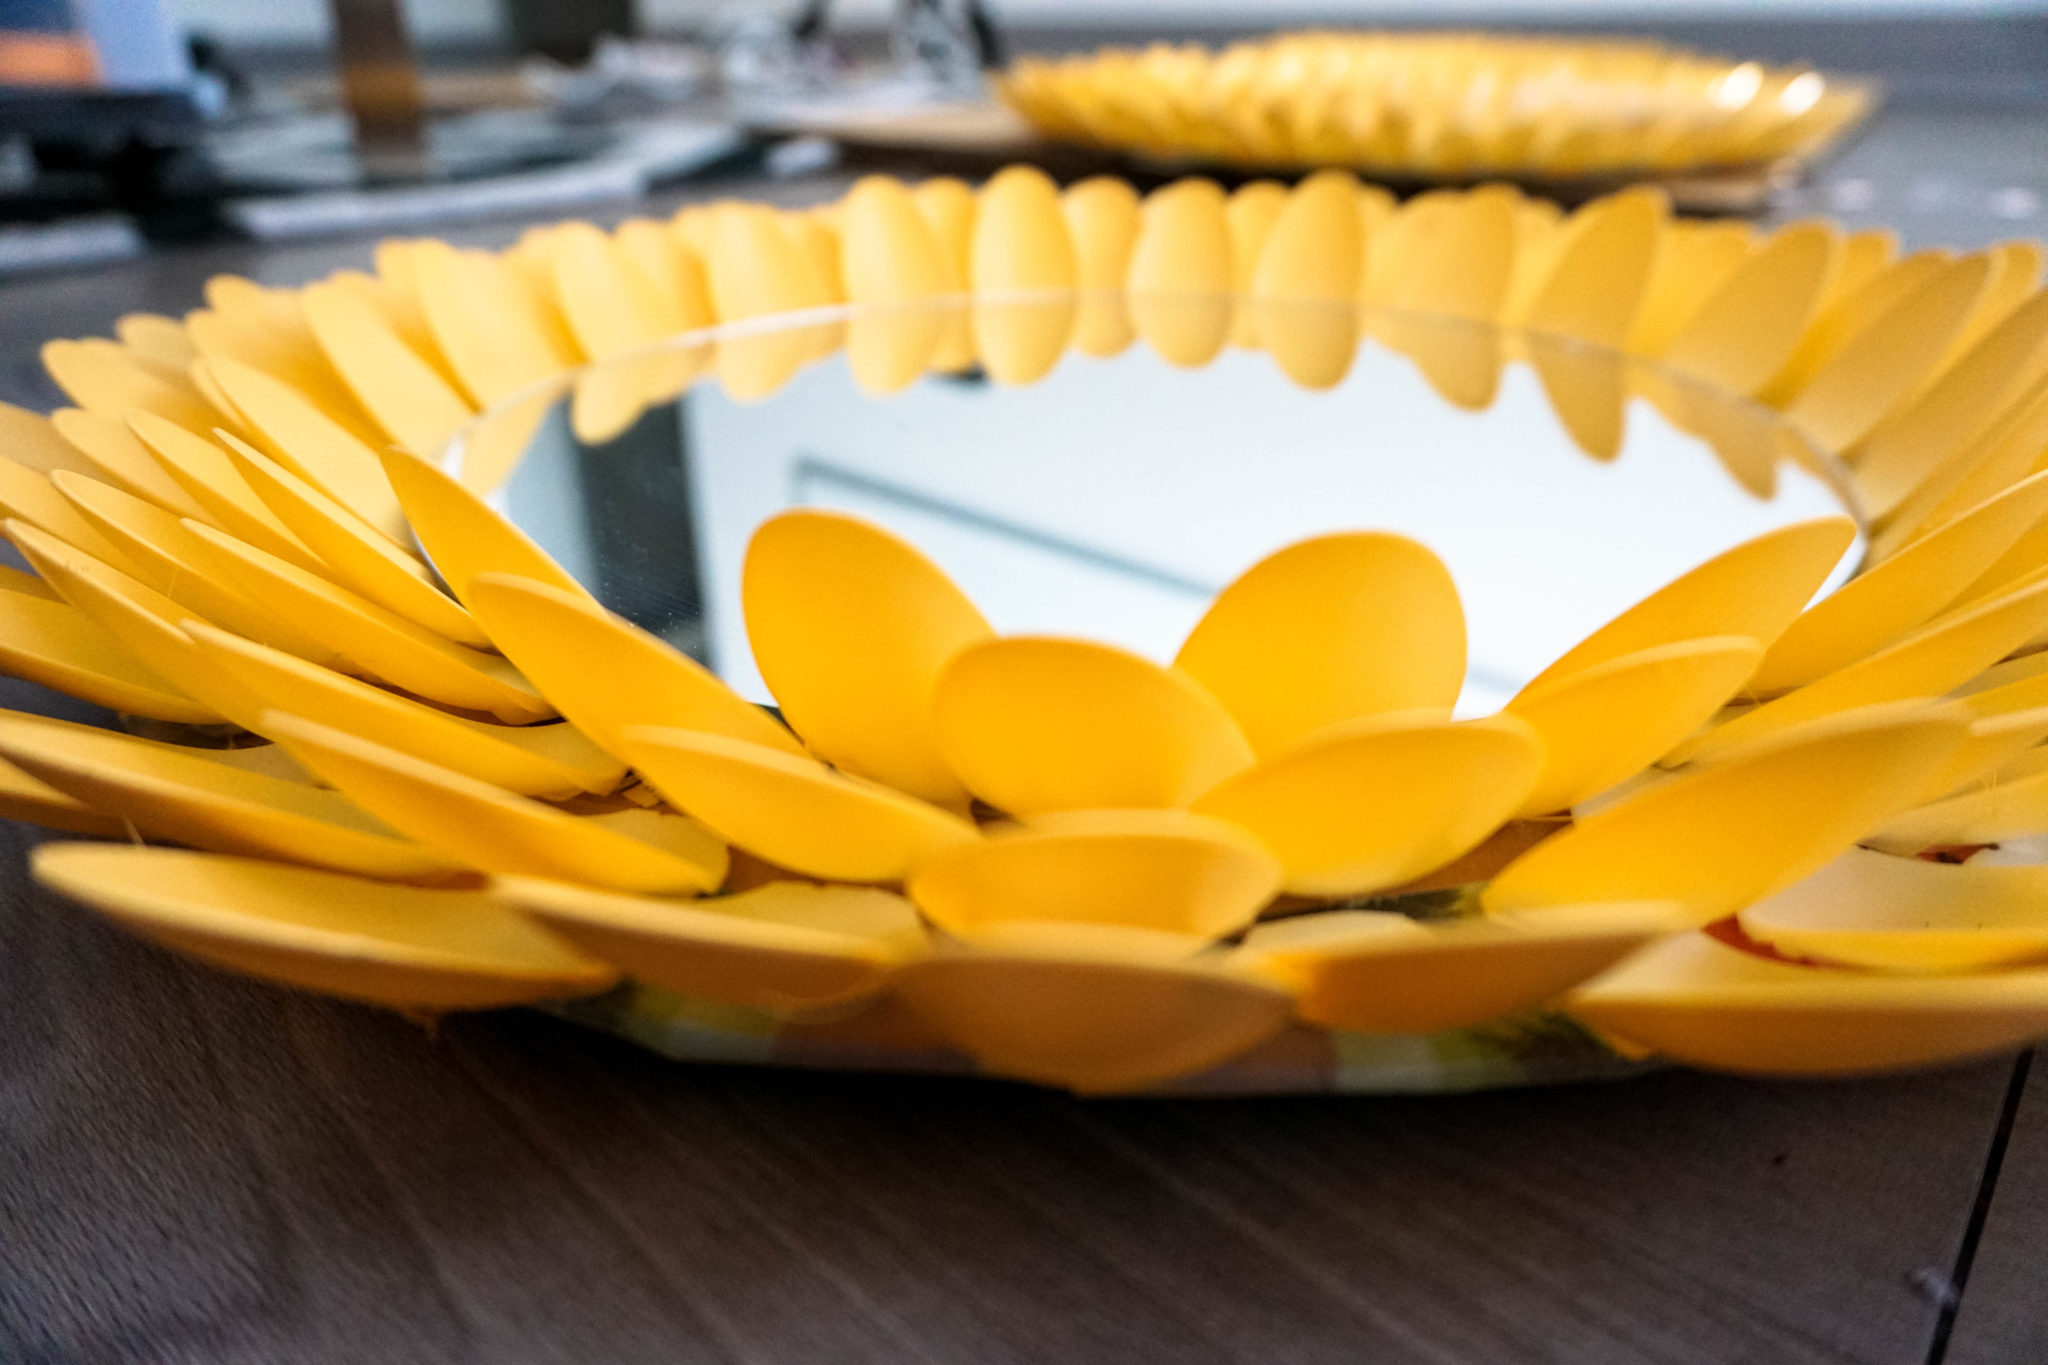
Step 5: Start glueing your spoons to the wreaths. Start on the outside and work inwards.
NOTE: it will take you a little bit to get the spacing right. Do not put spoons too close to each other!! by the time you are towards the center, you will never have enough room!NOTE: only put hot glue on bottom of spoon. You want the spoon to stay standing up!Spacing ReferenceNOTE: Don’t try to cram this all in on one day!!! It is tedious and can get a little frustrating! Take a break and come back later!!
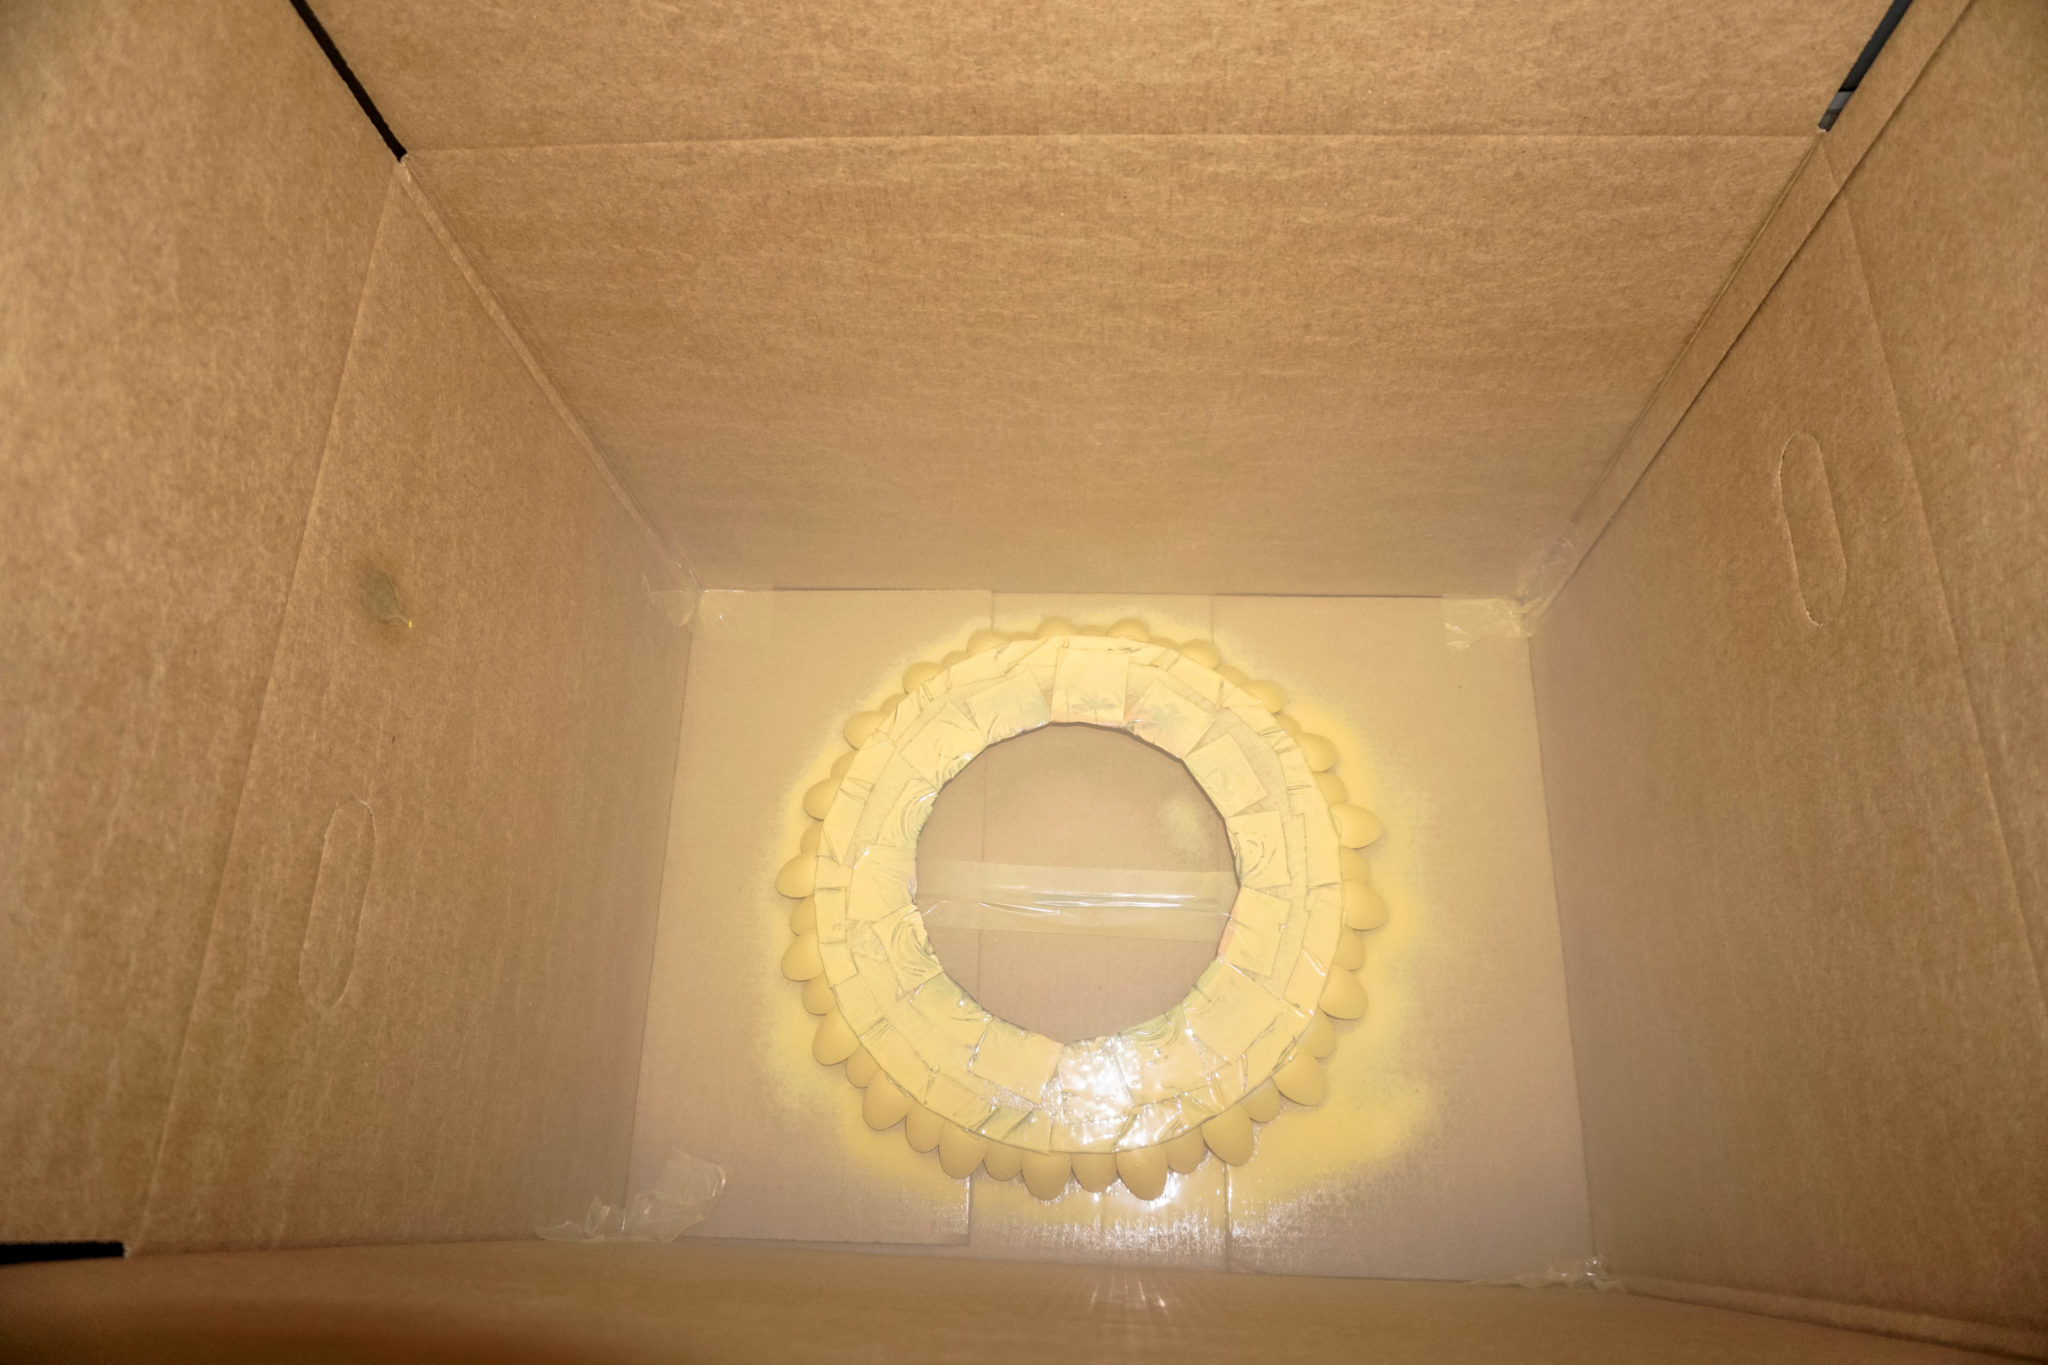
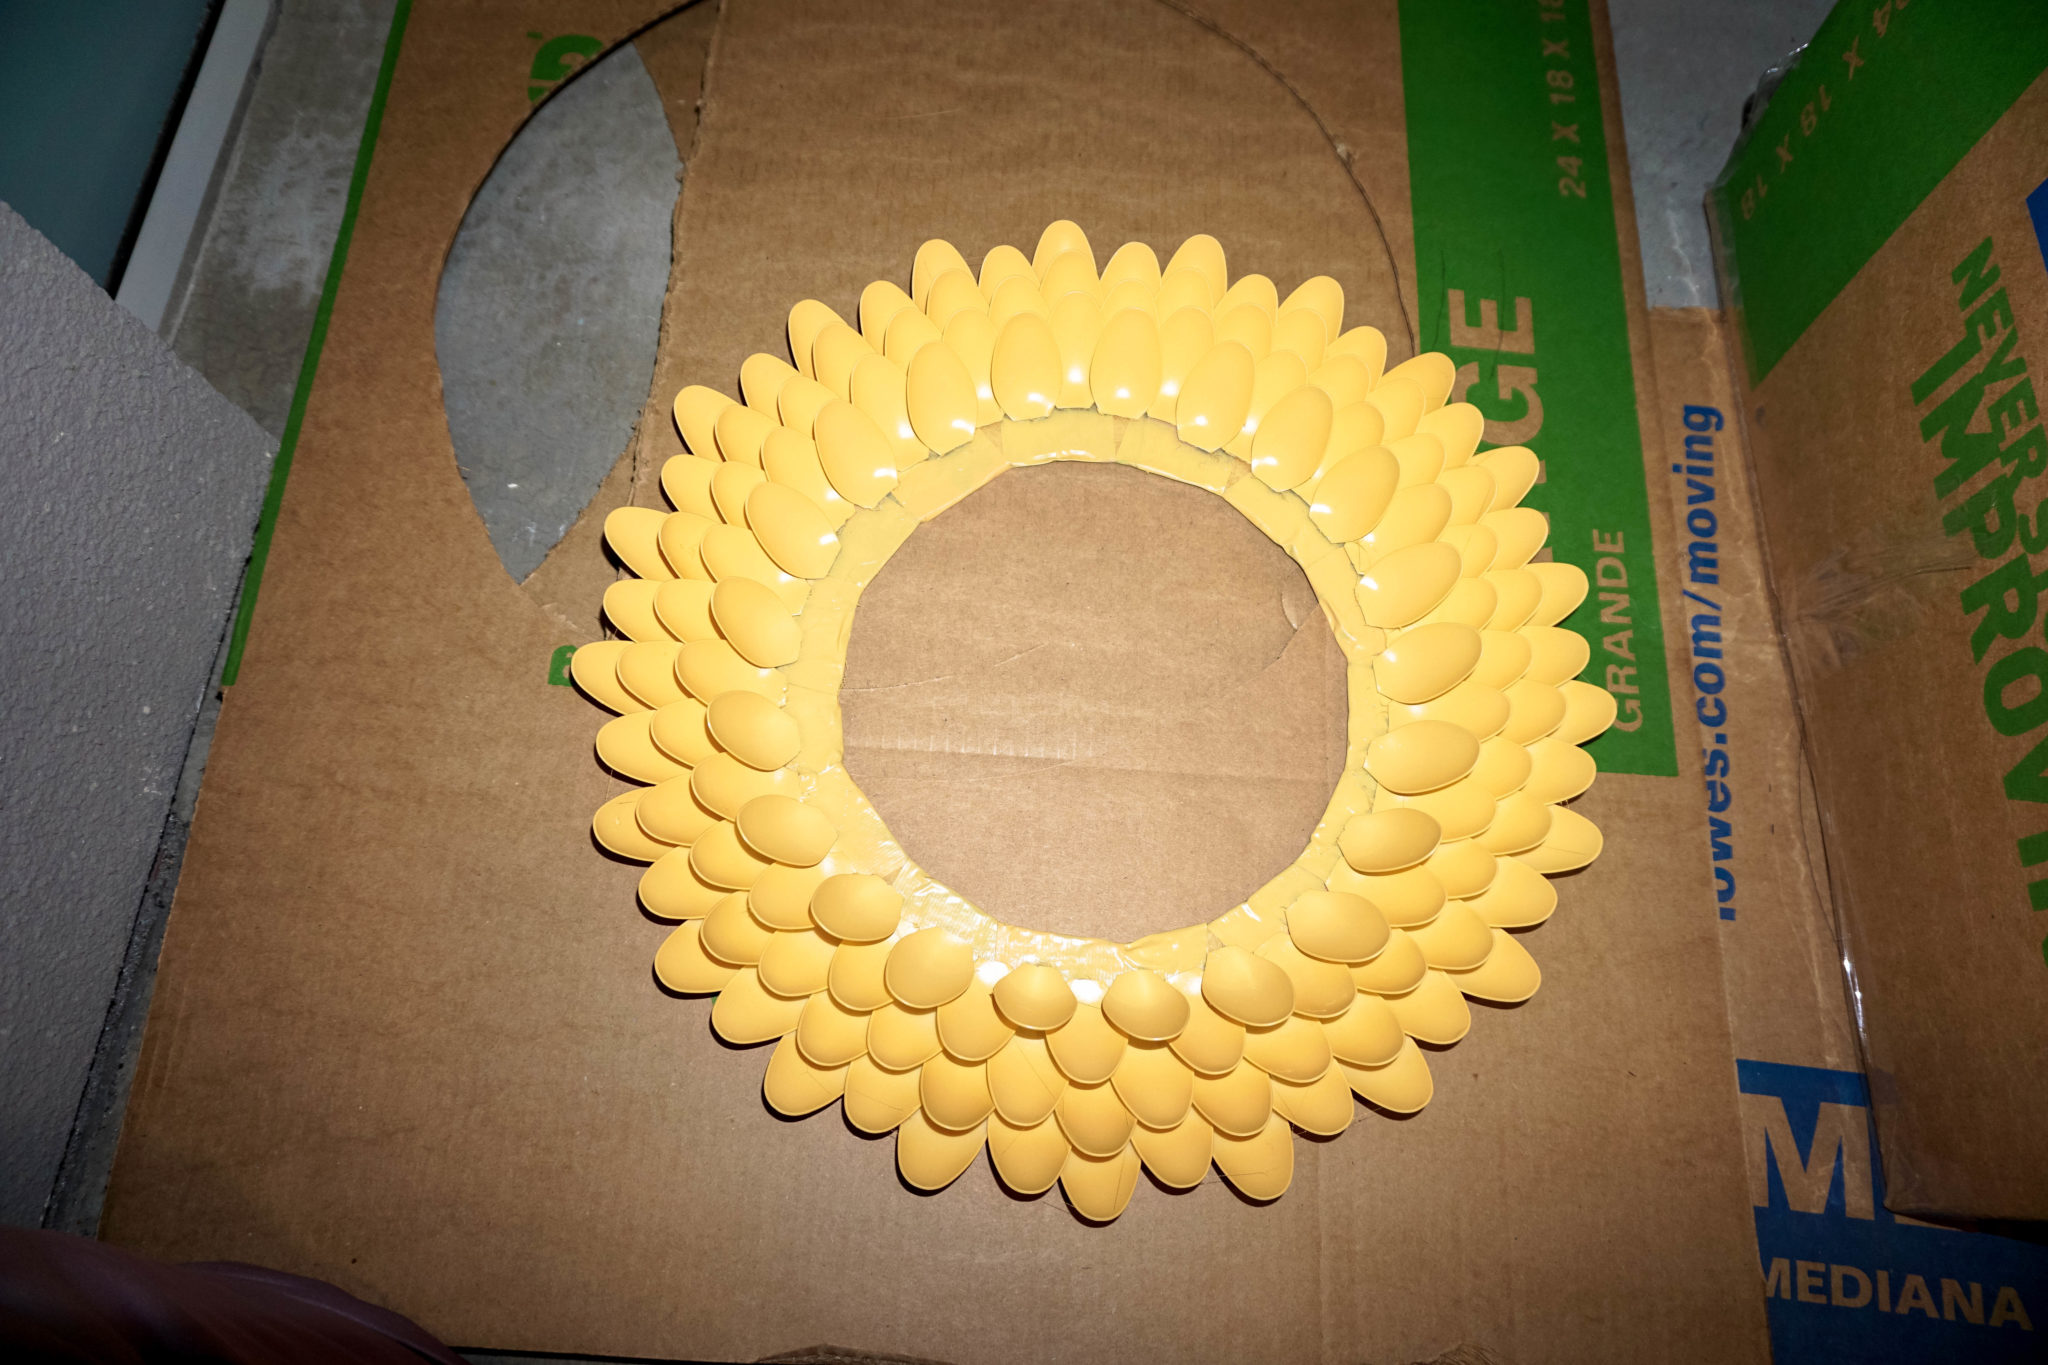
Step 6: You will want to peel off any/all of that springy hair-like glue strands. Take your time doing this step. The more strings left on those spoons, the worse the spray paint is going to look.
NOTE: when it’s time to spray paint, I put the wreath inside a box so the spray paint did not get all over my balcony! I do HIGHLY suggest doing this in a larger, open area. But whatever works for you!NOTE: this spray paint is awesome. It goes on easy, and drys super quick! I bought this at Lowes for $3.58 per can!NOTE: Spray Paint back of wreath first! Does not have to be perfect, as you are not going to see this side in the end.NOTE: do about 2-3 coats over. Make sure there are no white spots on this side of the wreath left! Let Dry for about an hour!
Step 7: Get your mirrors ready! Add hot glue to the back of the mirrors. Then Softly, and carefully place them in the center of the wreaths!
NOTE: add hot glue to back of mirror! I suggest adding A LOT of glue. The smaller mirrors are light, but the big mirror needs as much glue as it can get!NOTE: Place your mirror in the center! Press down, but not too hard you do not want any spoons falling off at this point!
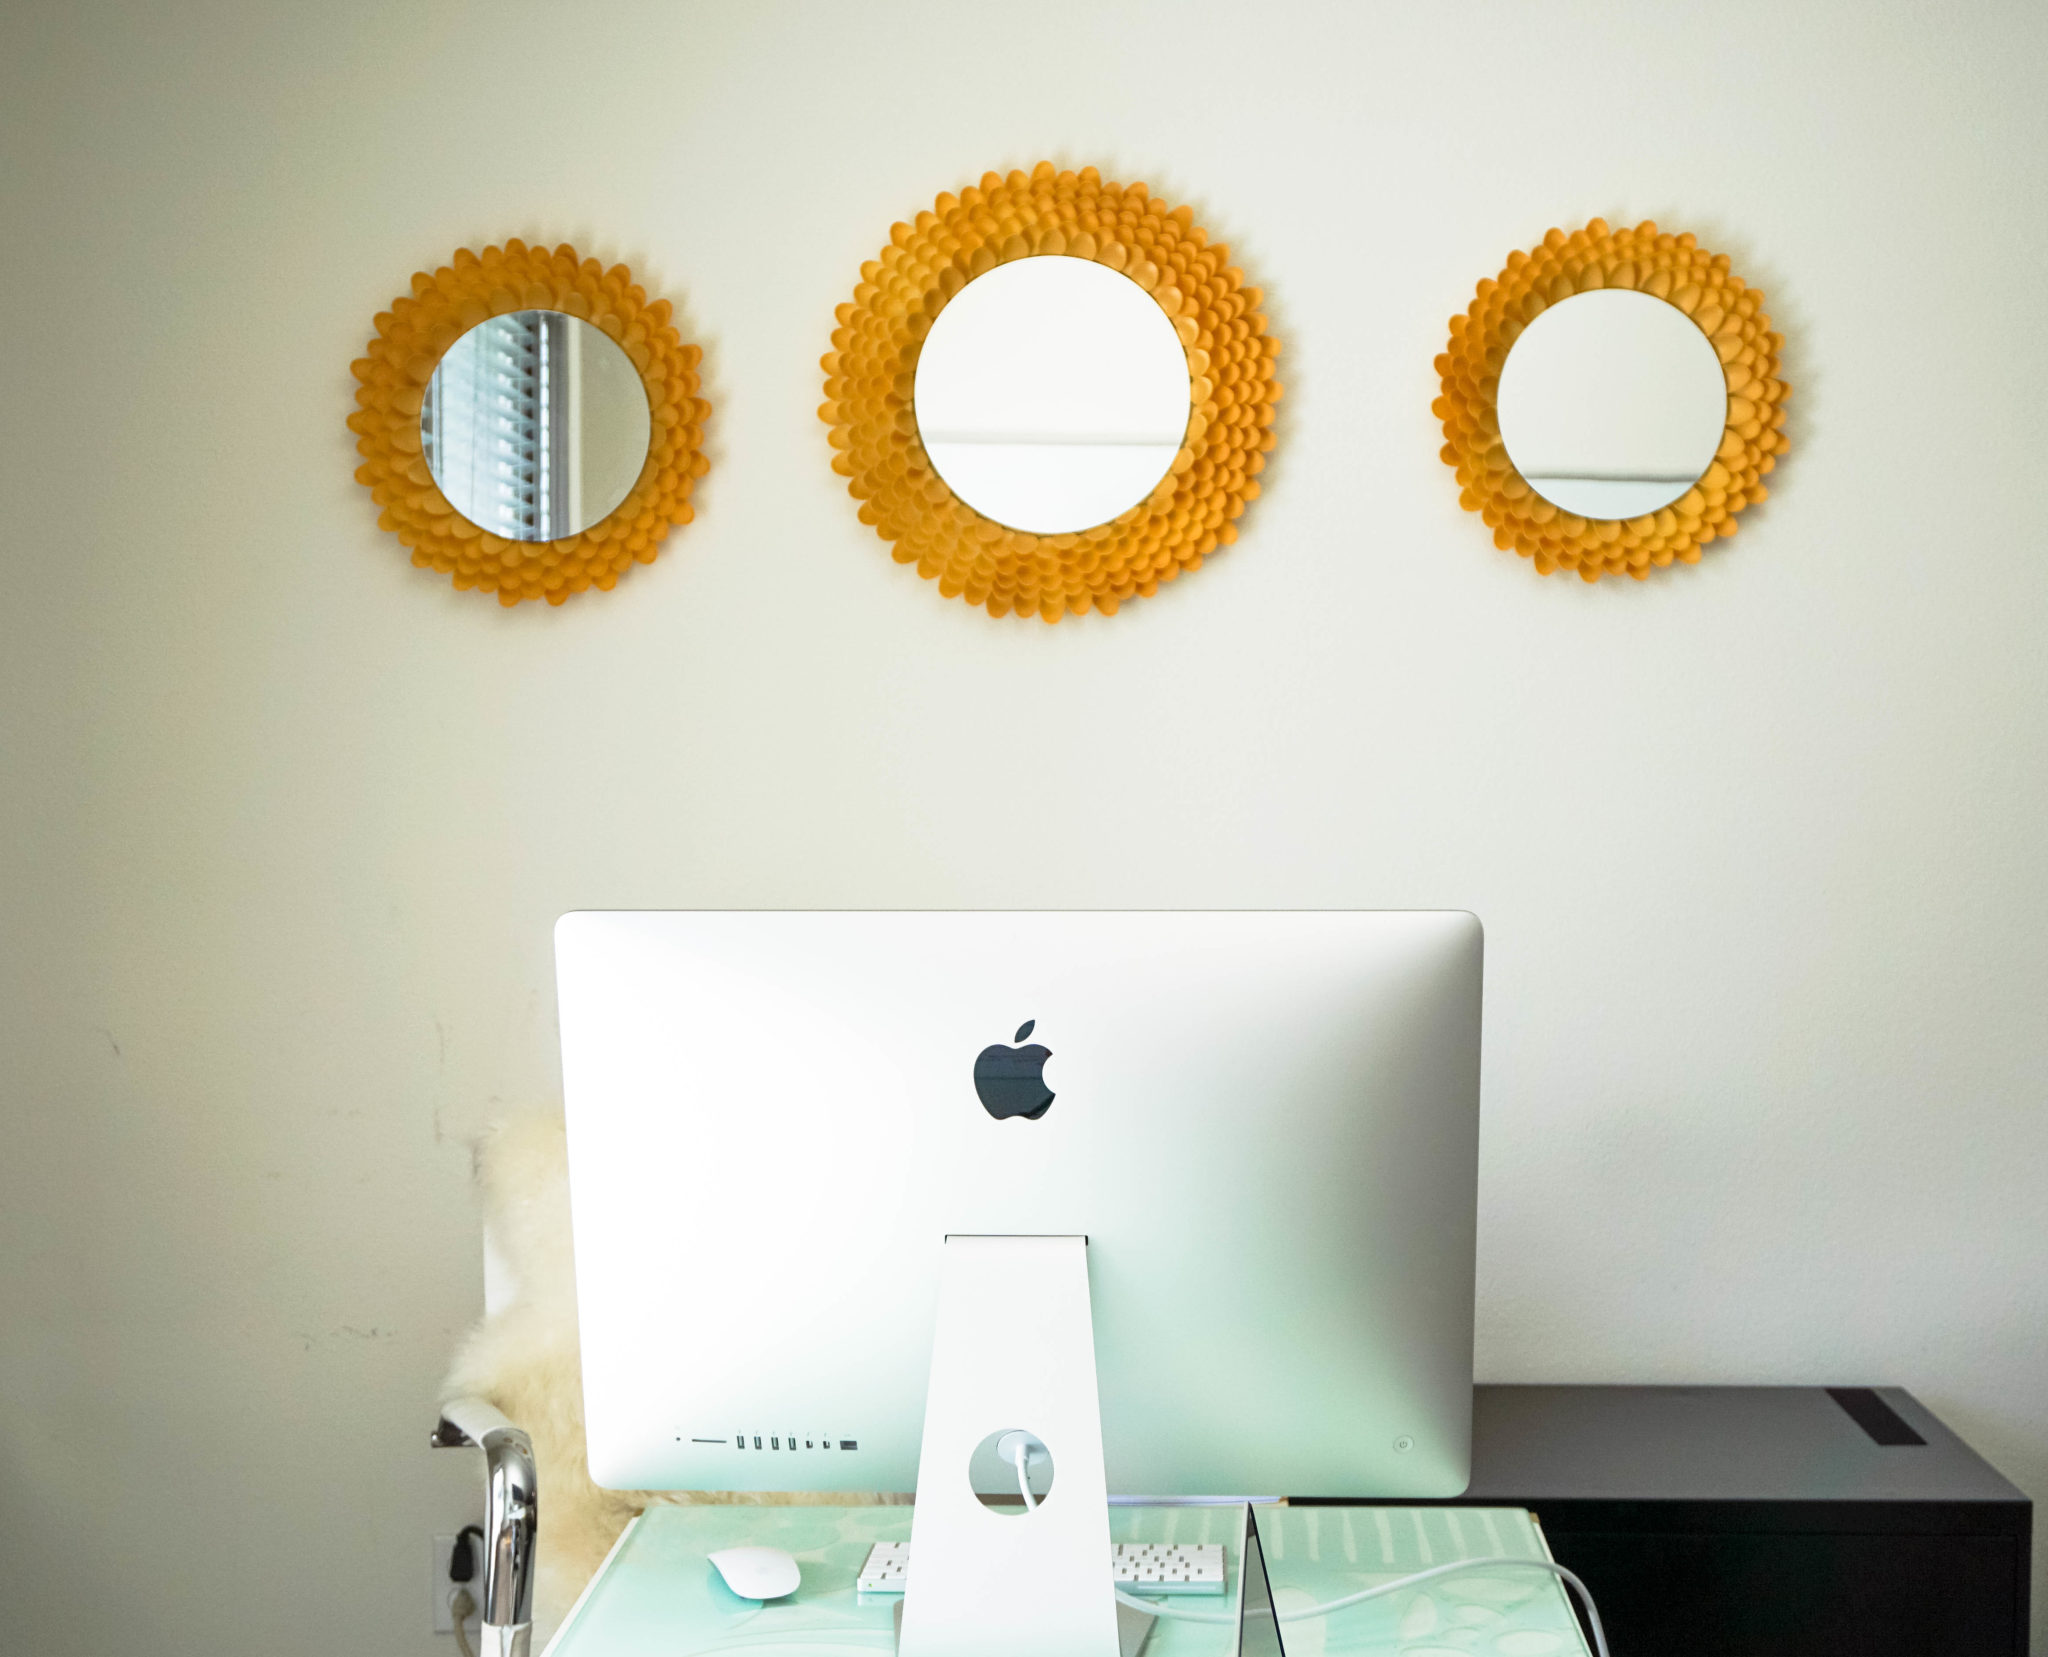
Step 8: Allow some more drying time for both the paint and the glue! You want to make sure it’s completely locked in there! After that, I just added a few Command Strips to the back of each wreath and stuck it to the wall!
Hang them up, step back, and smile….YOU DID IT!!!
And Taaaadahh! You did it!
I hope you guys are as happy as I am with the final product! Feel free to ask any questions!! Good luck my peeps!!!!
My brother recommended I may like this web site. He was totally right. This publish truly made my day. You cann’t consider just how so much time I had spent for this information! Thanks!


Comments (2)
Your so talented!!!!
My brother recommended I may like this web site. He was totally right. This publish truly made my day. You cann’t consider just how so much time I had spent for this information! Thanks!
http://www.furtdsolinopv.com/